How to create and manage call-to-action button
In this article, we'll guide you through creating a call-to-action link with the Button element and managing its destination and appearance.
A call-to-action button encourages visitors to take a specific action, such as contacting you, booking a service or making a purchase, by clicking the provided button
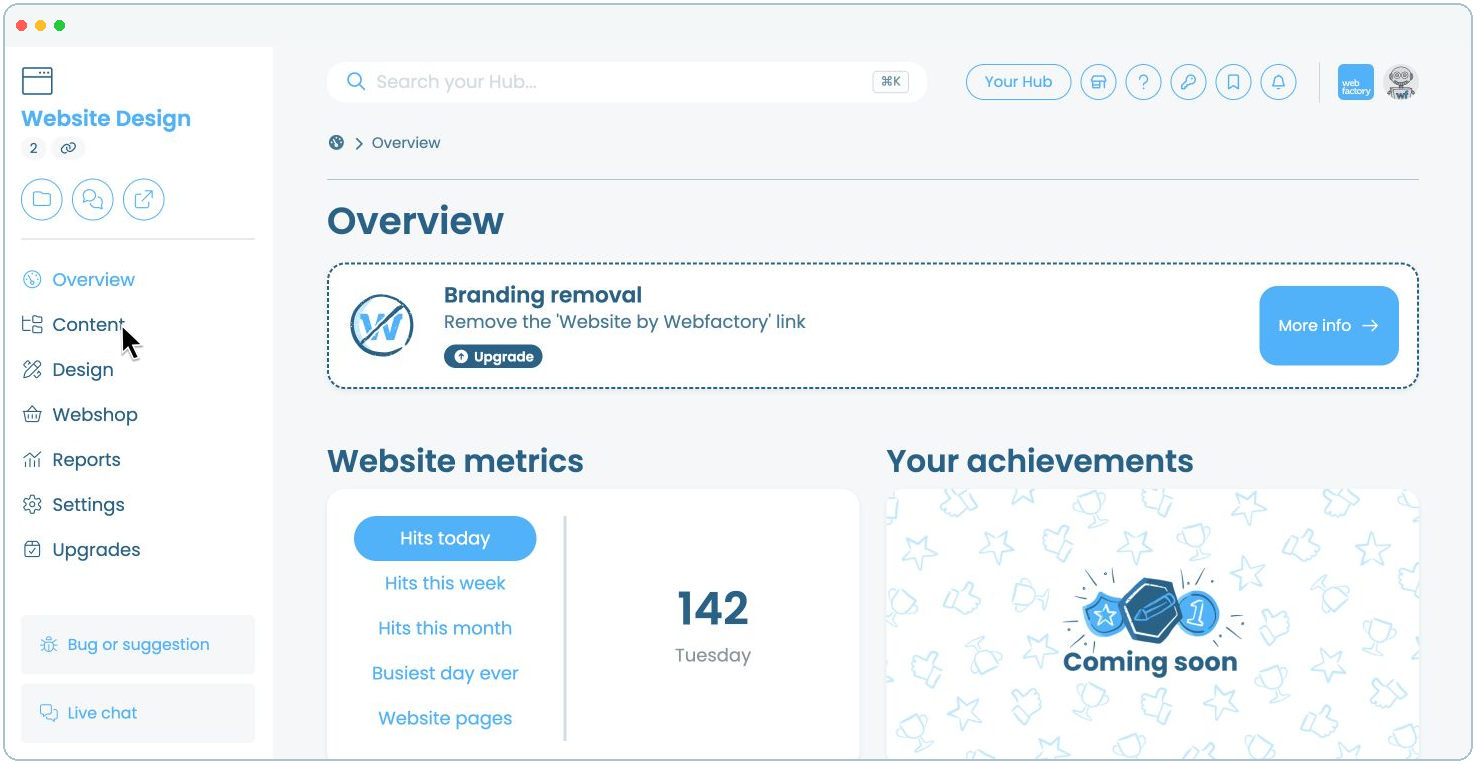
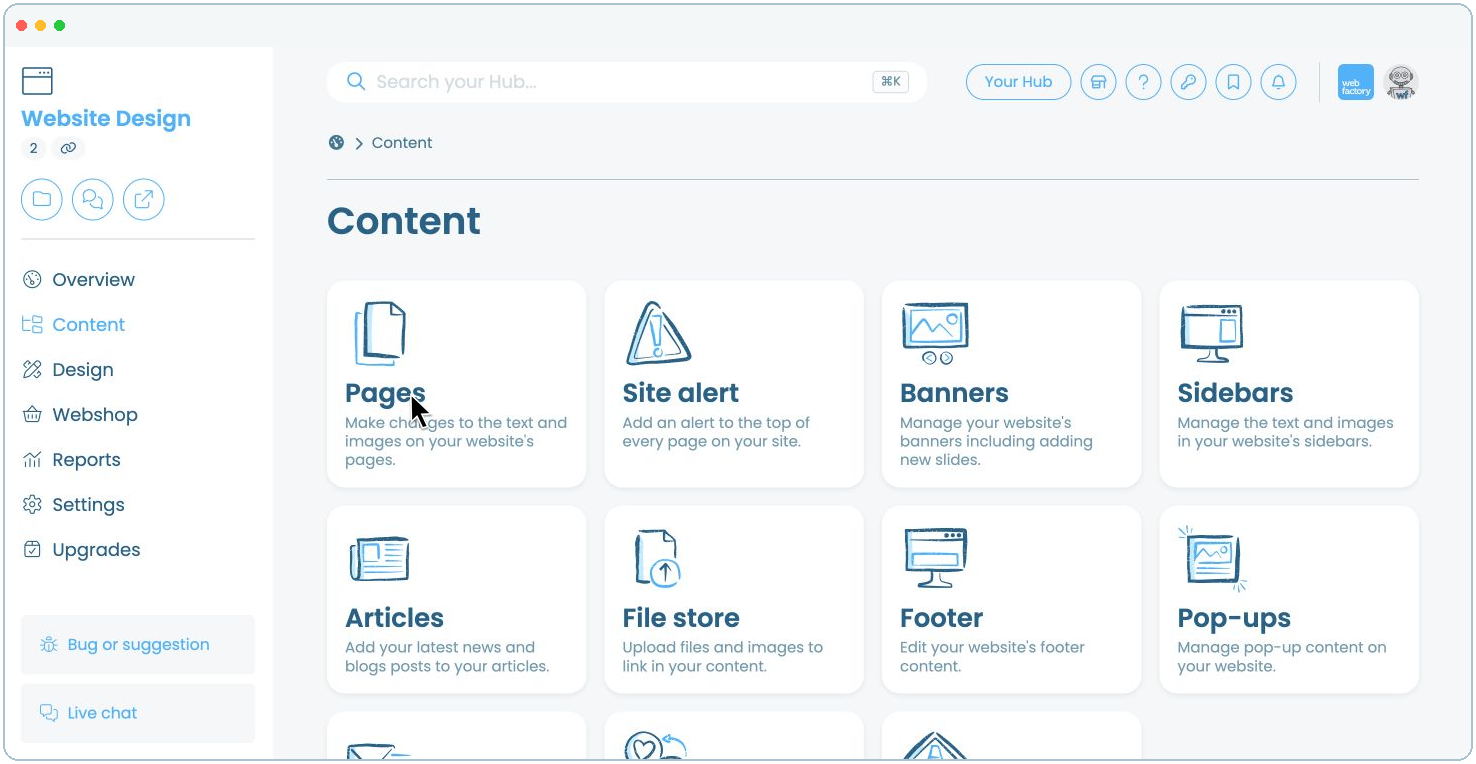
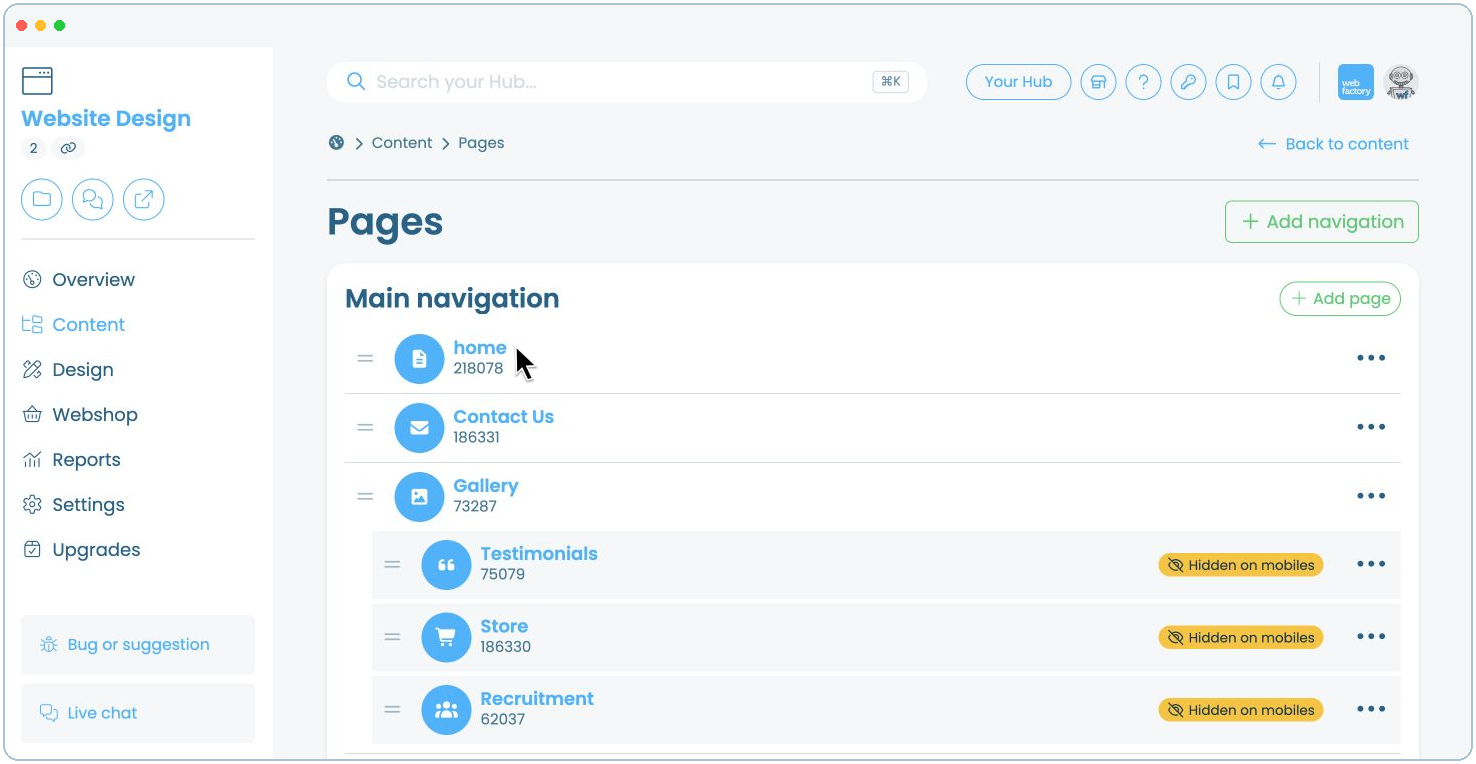
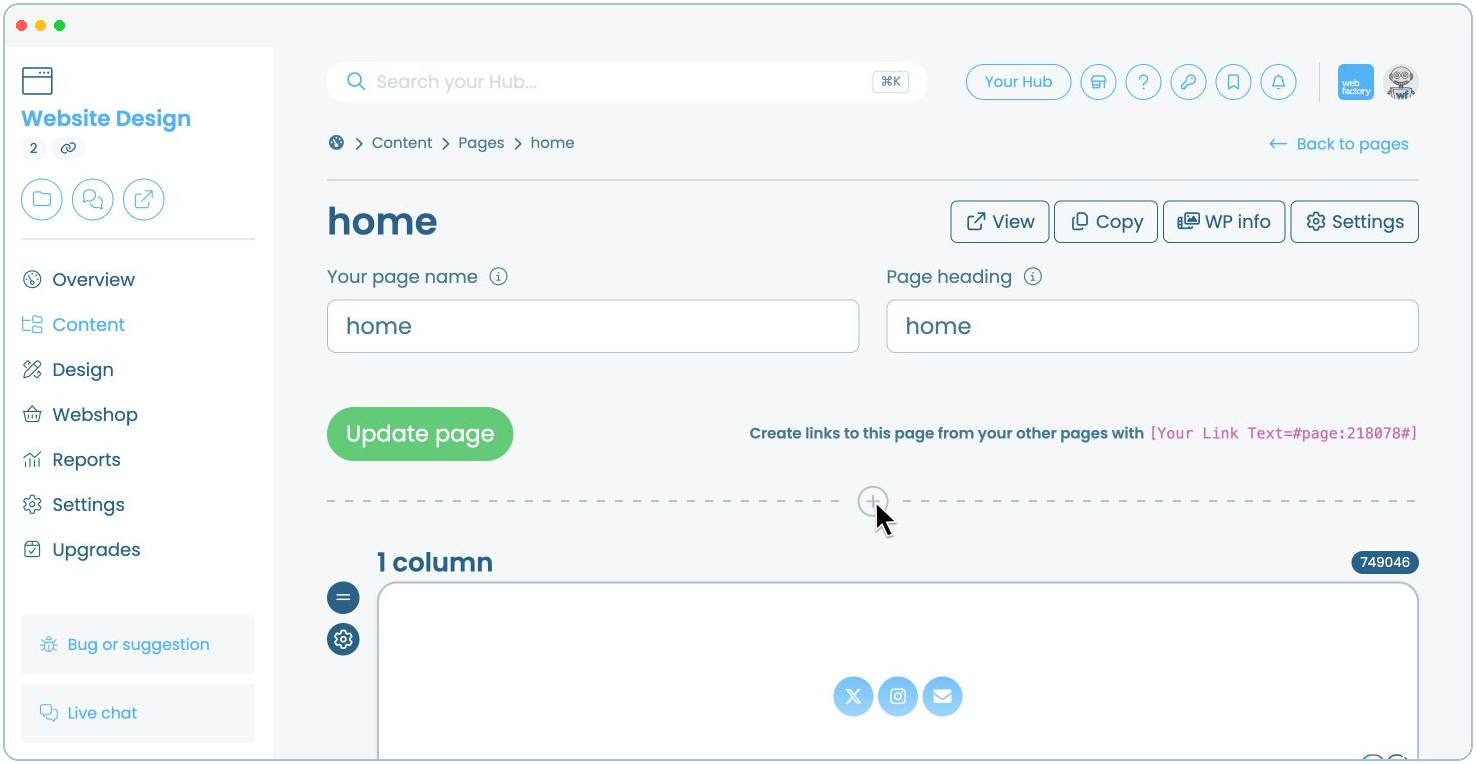
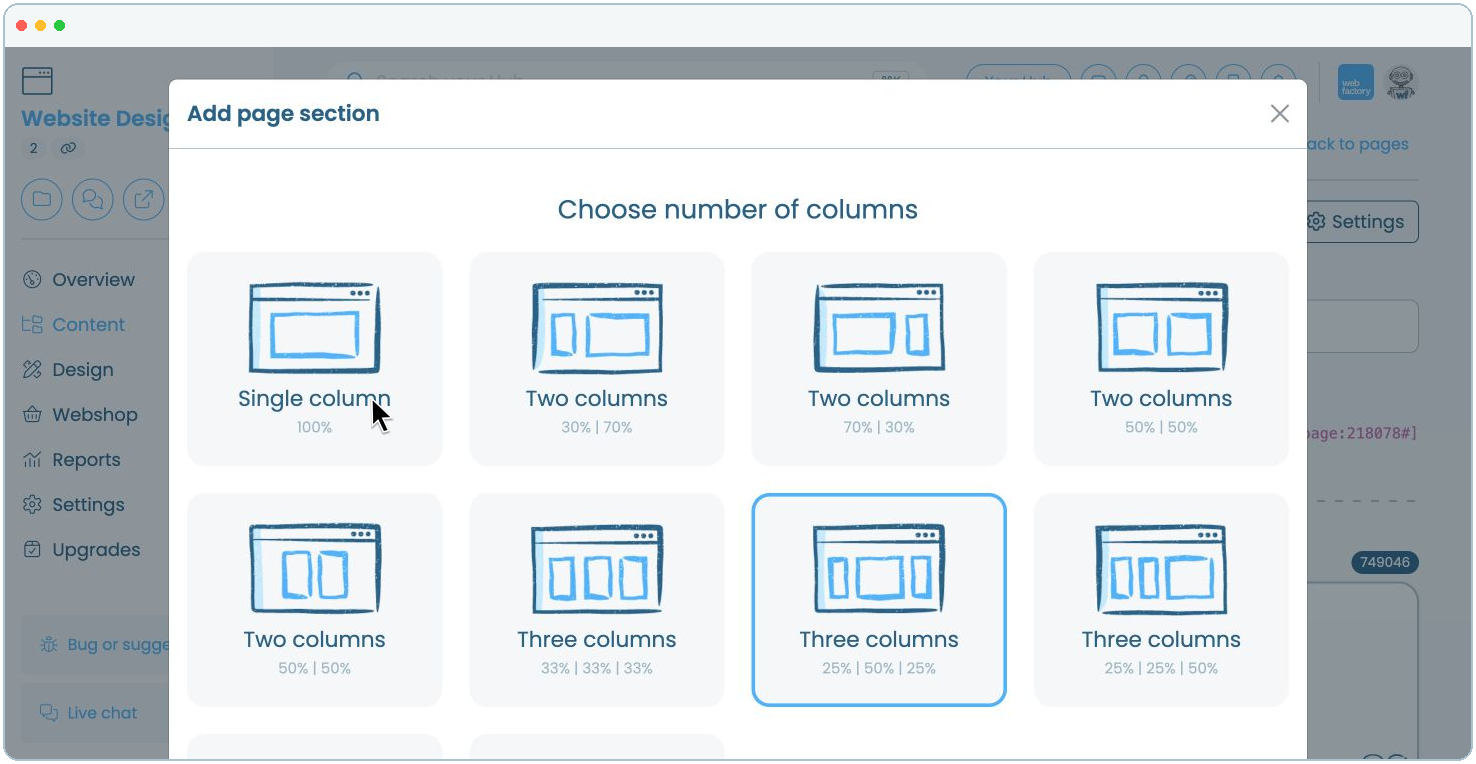
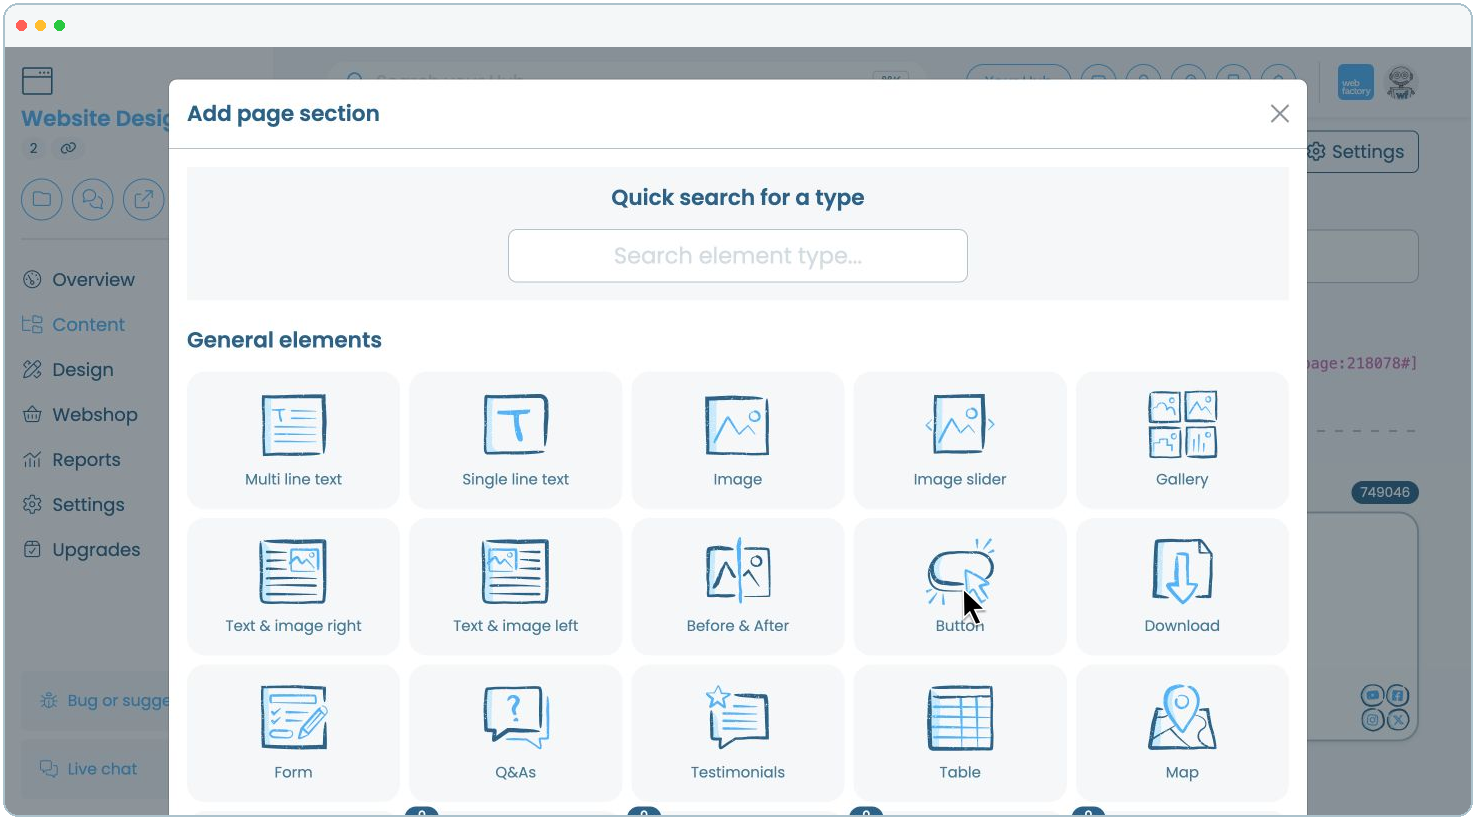
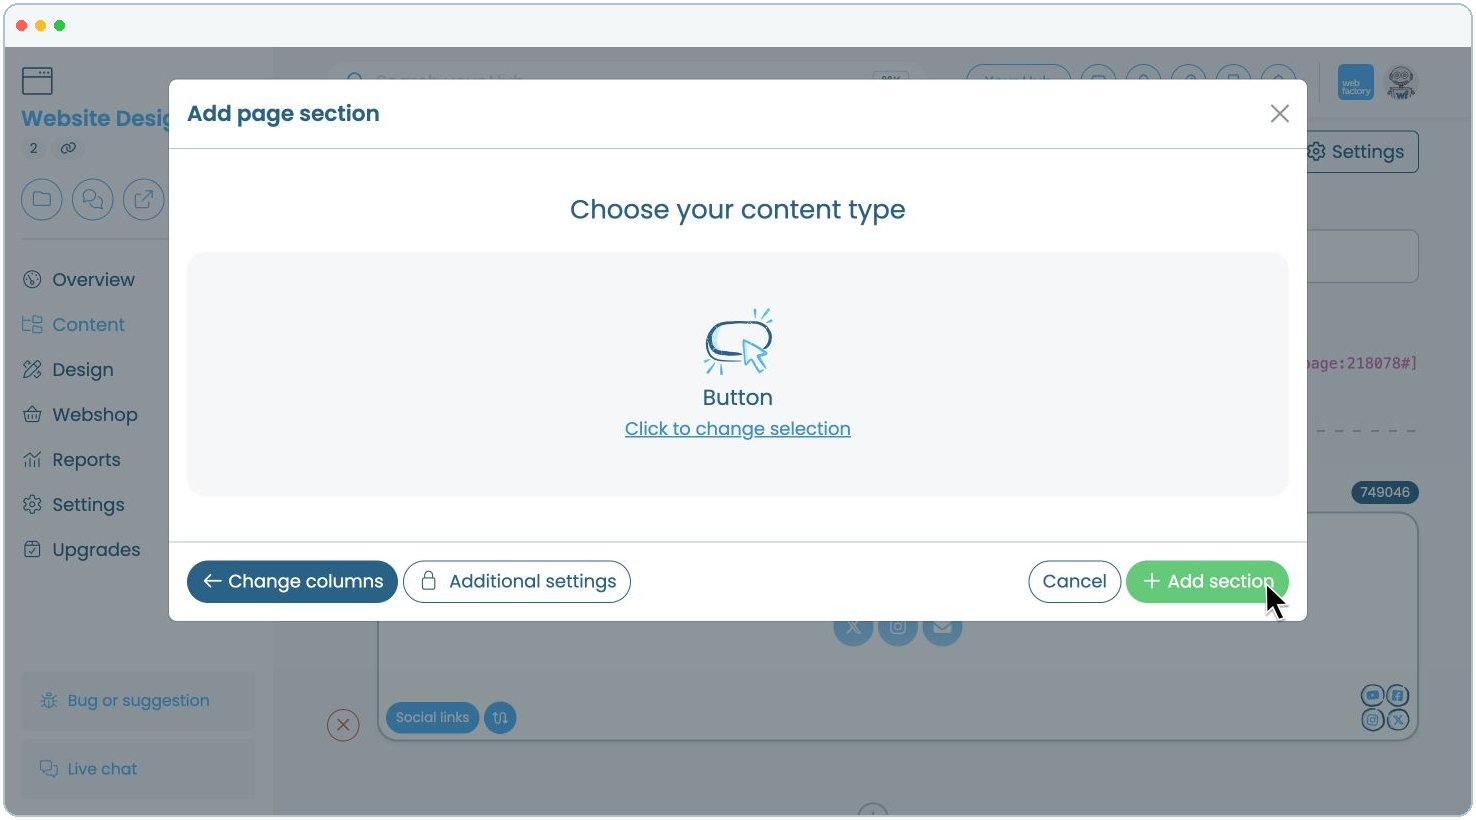
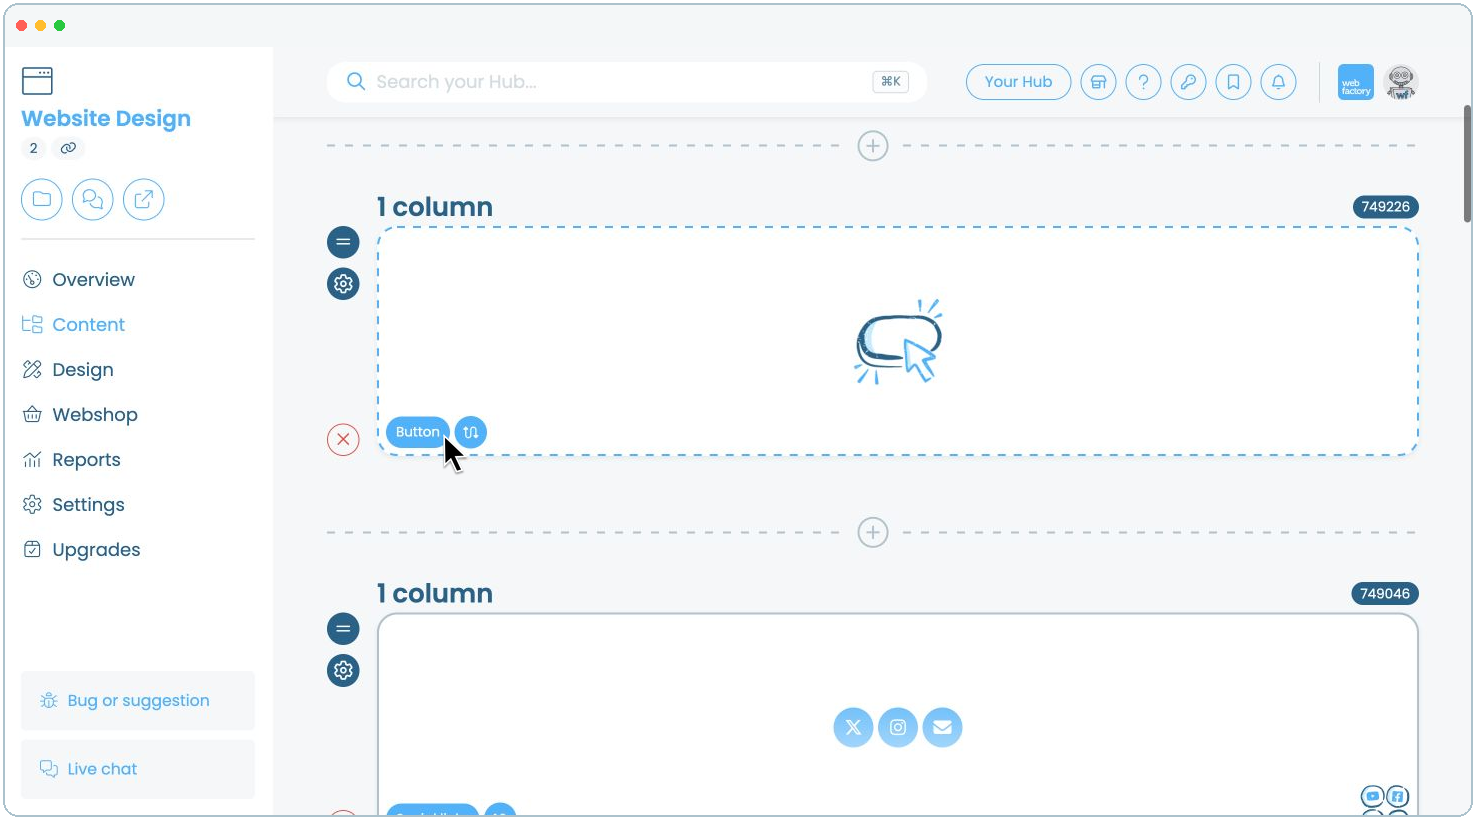
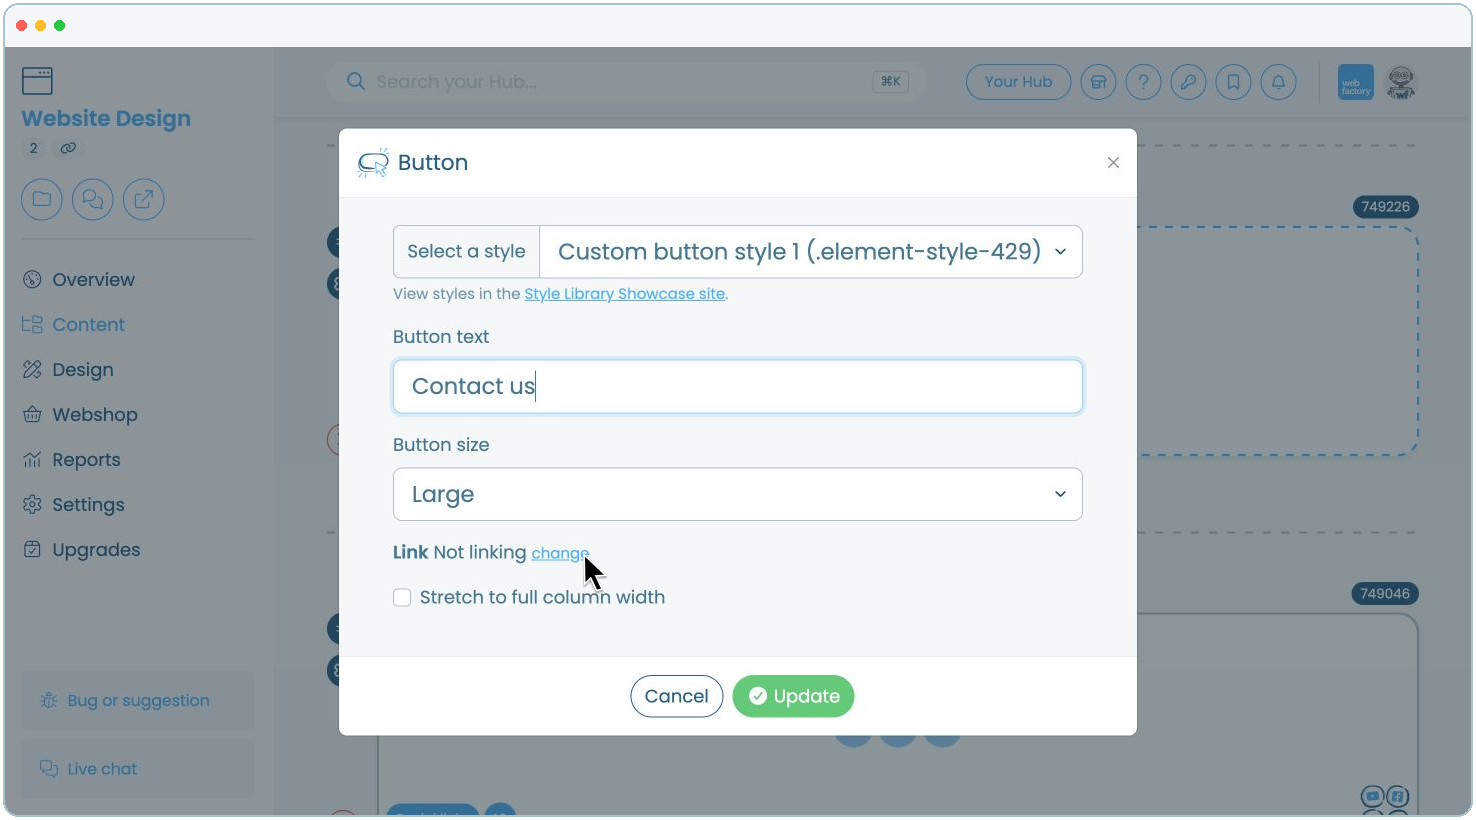
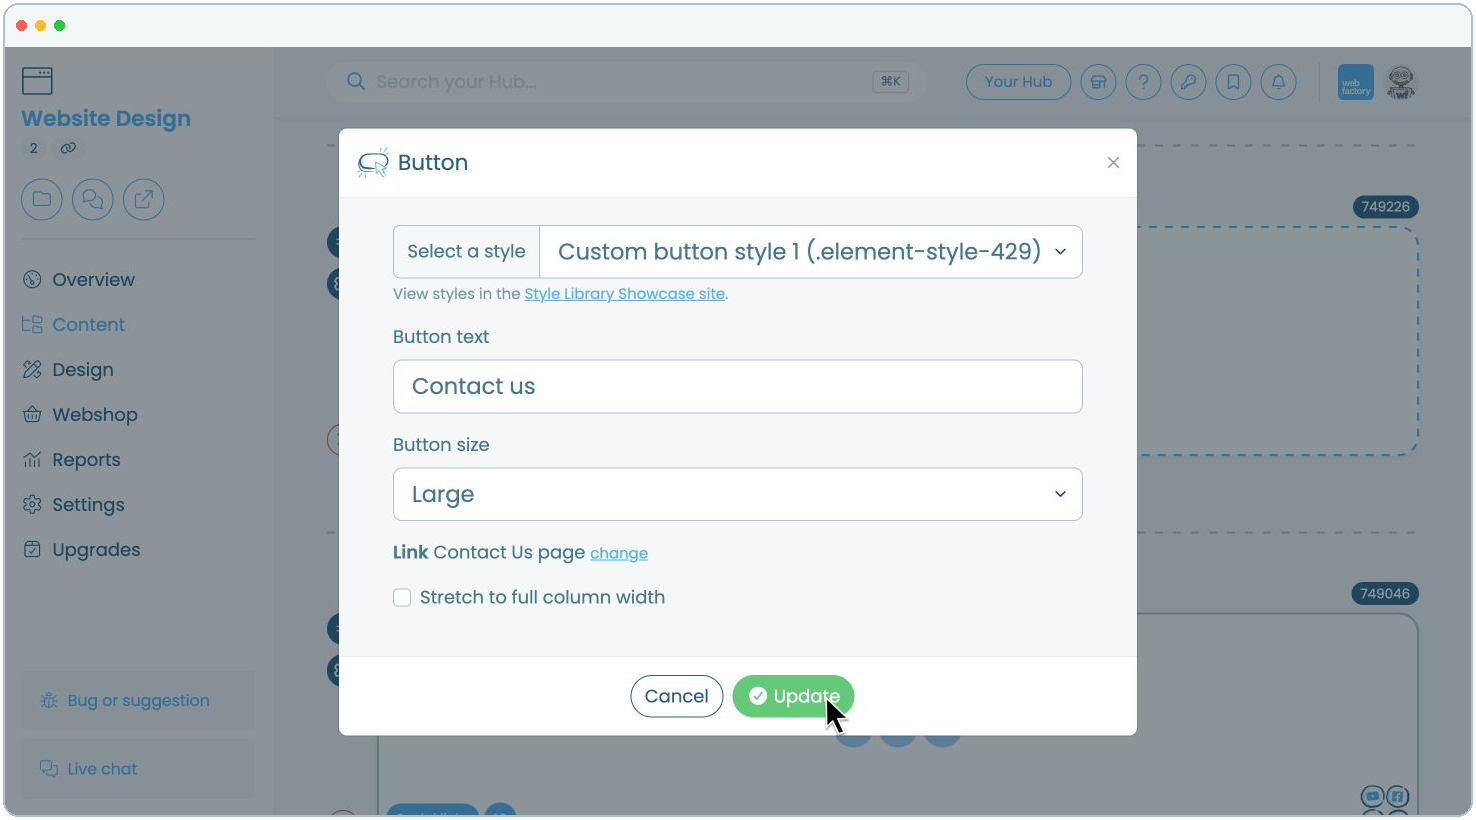
Choose a button style, enter the button text, select the size and decide whether it should stretch to the full column width. Then click 'change' beside 'Link'.
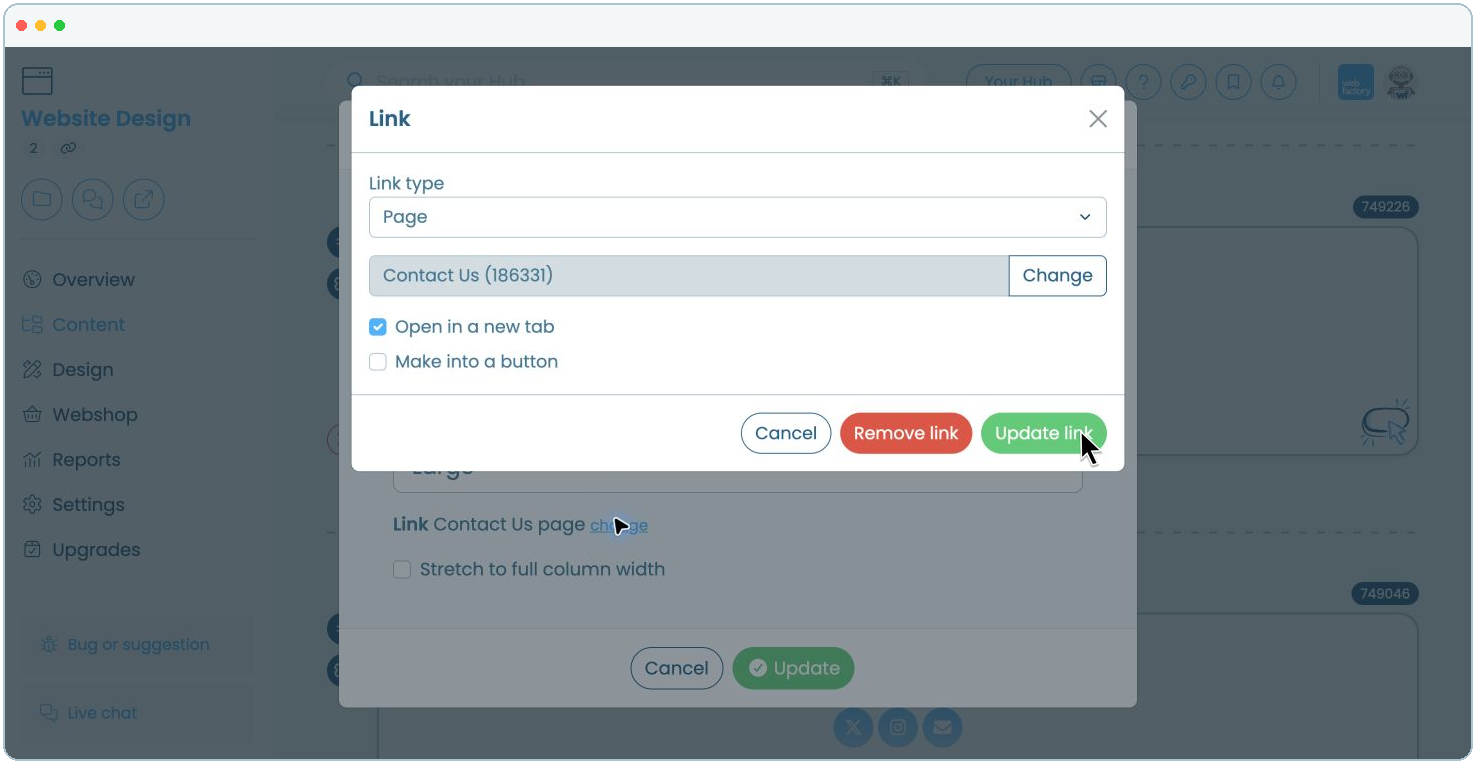
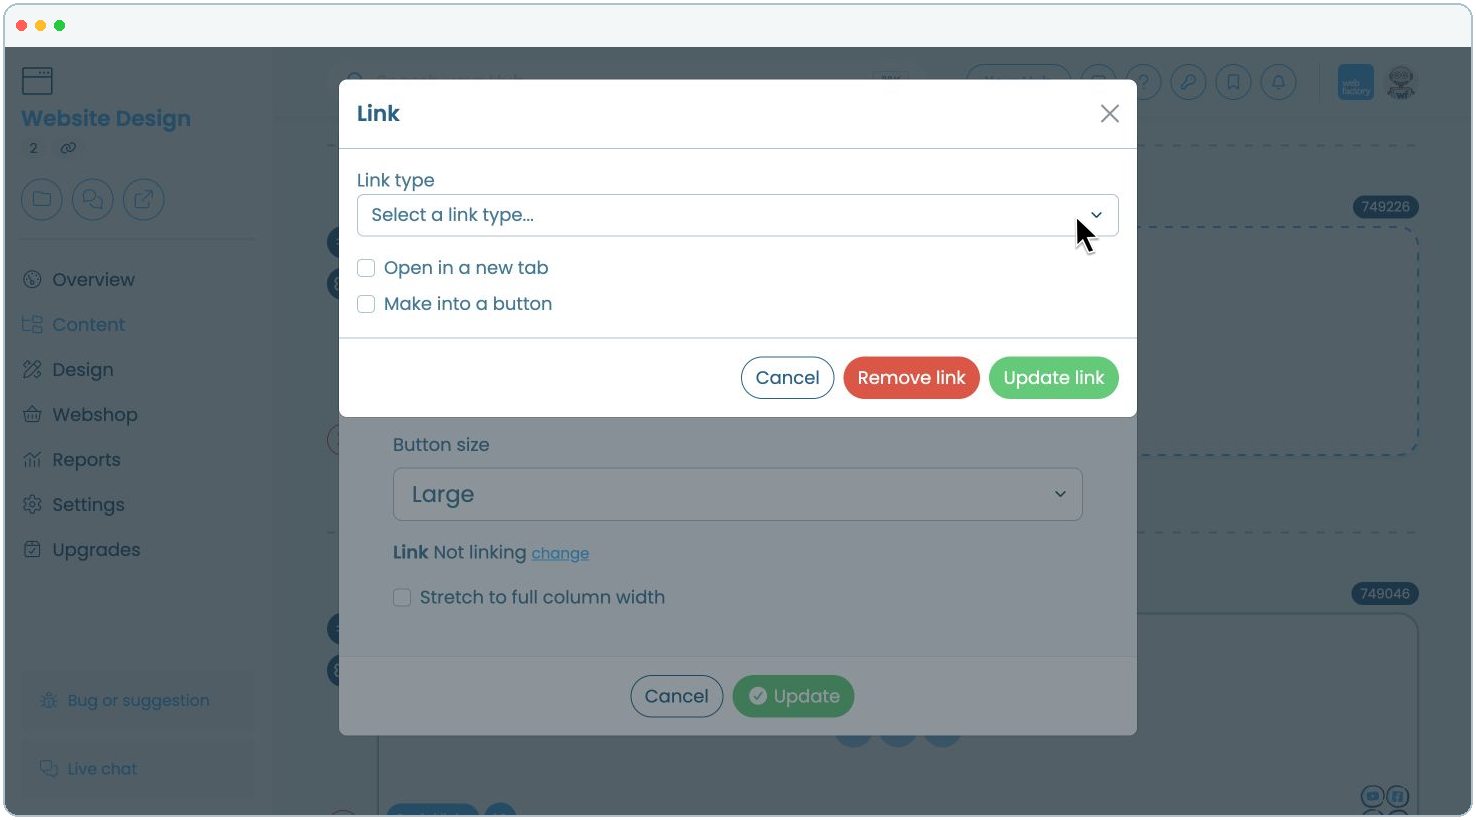
Open 'Link type' and choose where the button should link. You can link to a page, page section, product, article, pop-up, file, Itemlister item, external link, property or vacancy.
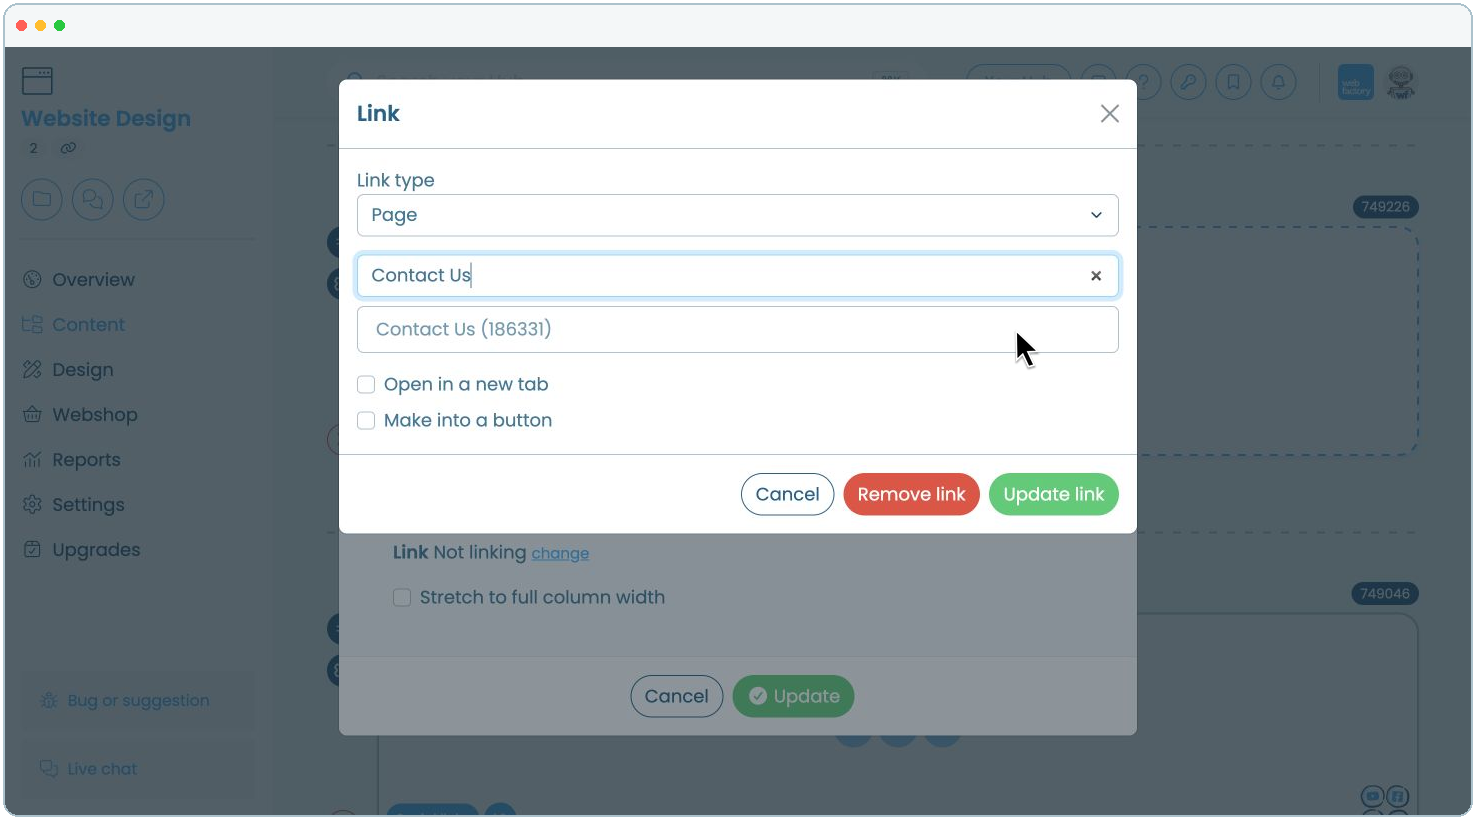
Choose or search for the destination. In this example, select the 'Contact Us' page.
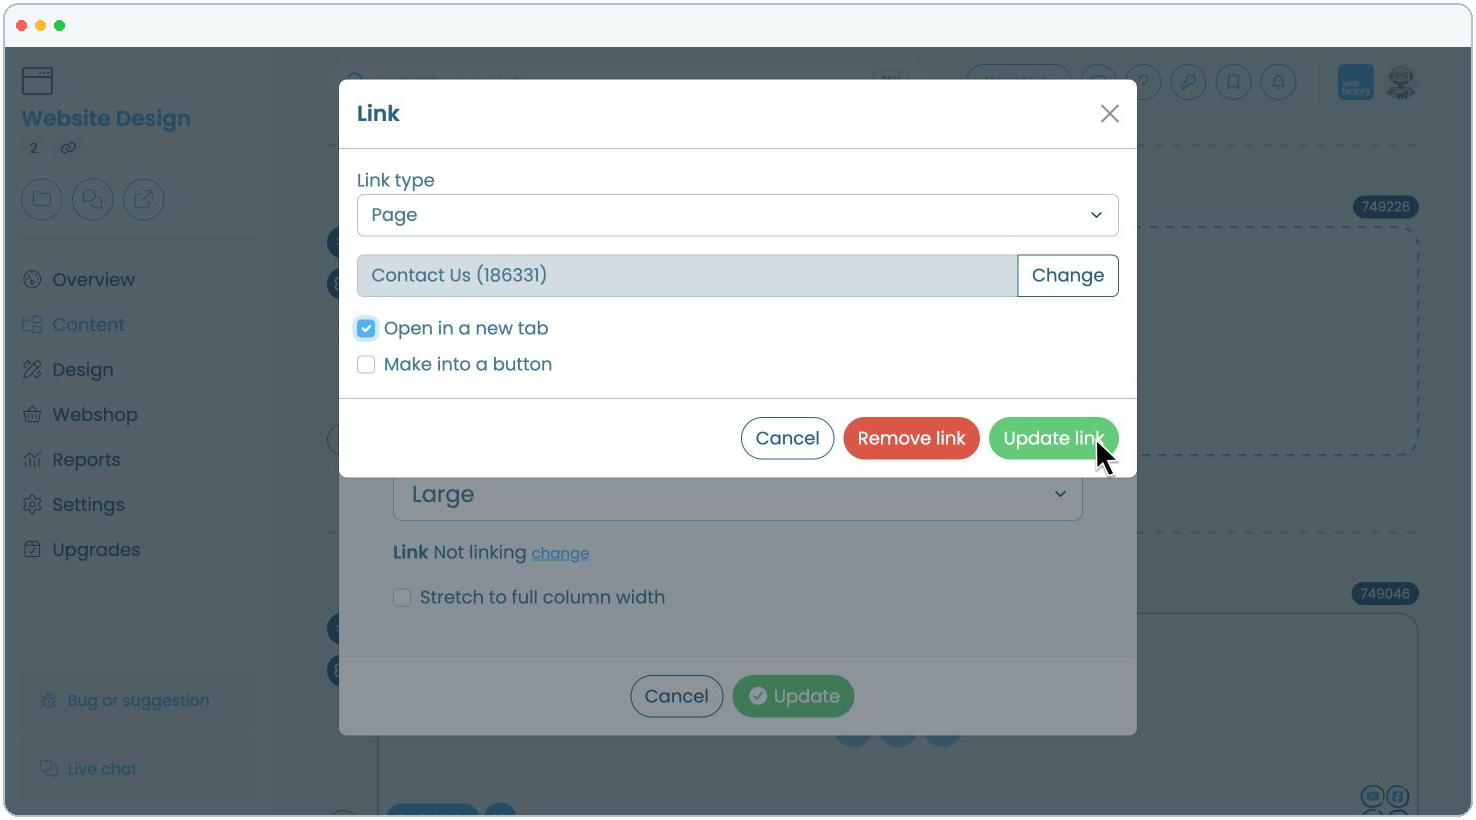
Review the button settings, then click 'Update' to save the call-to-action link.
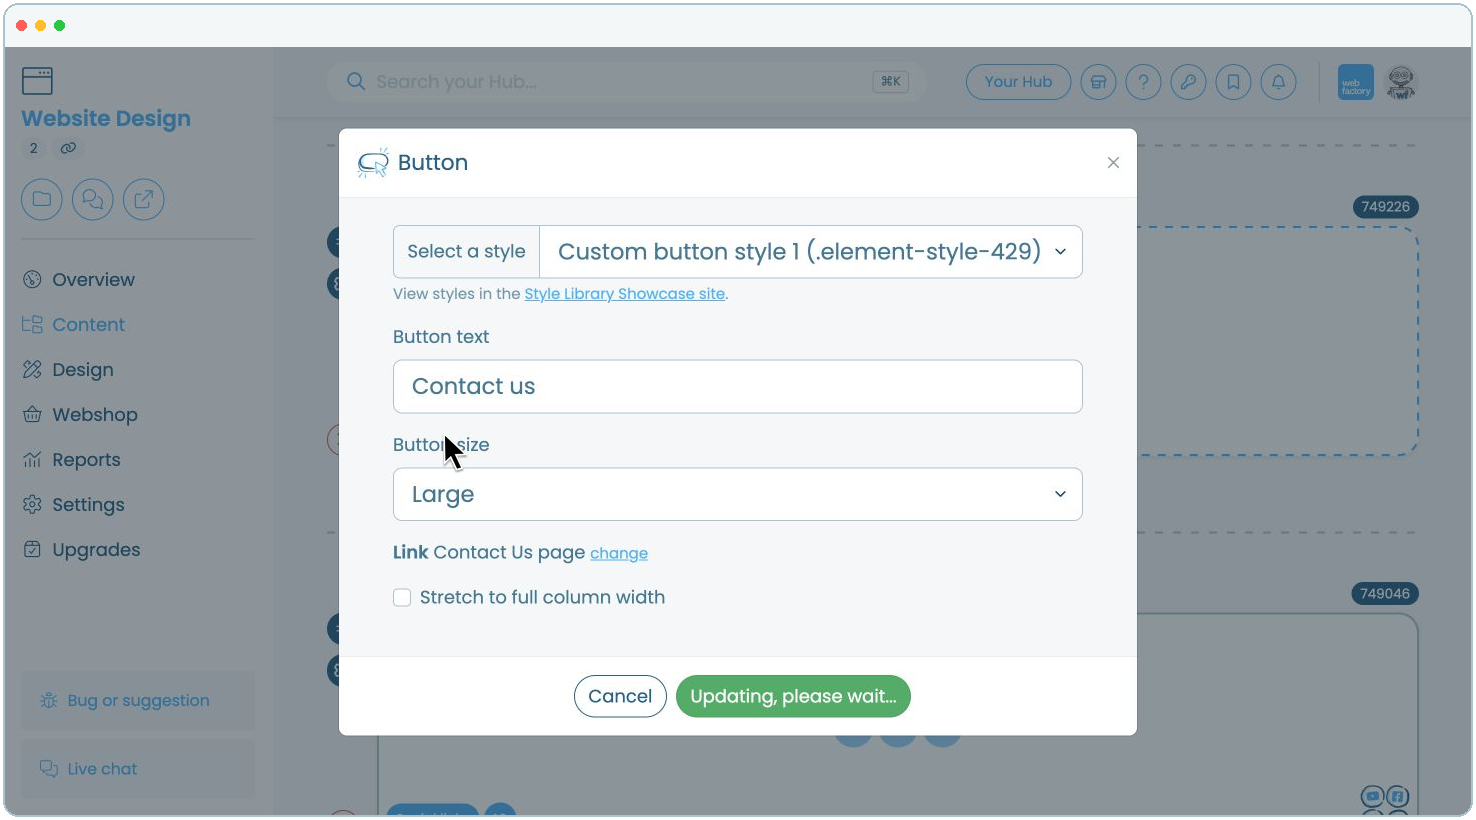
Change its style, text, size or full-width setting. To change the destination, click 'change' beside the current link.
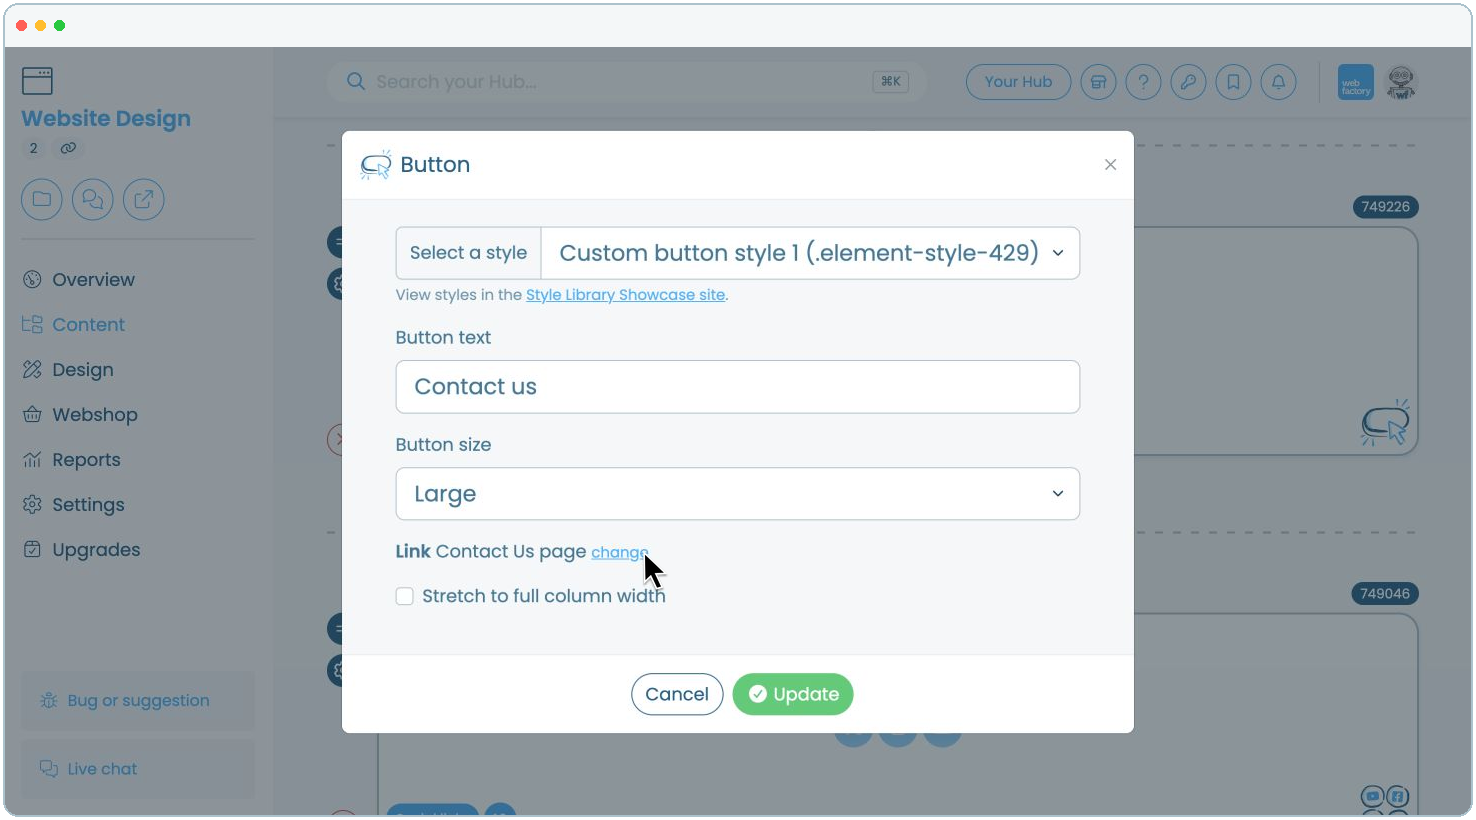
Choose a different destination and click 'Update link', or click 'Remove link' to disconnect the button. Then click 'Update' in the Button window to save your changes.