How to add and manage an image gallery
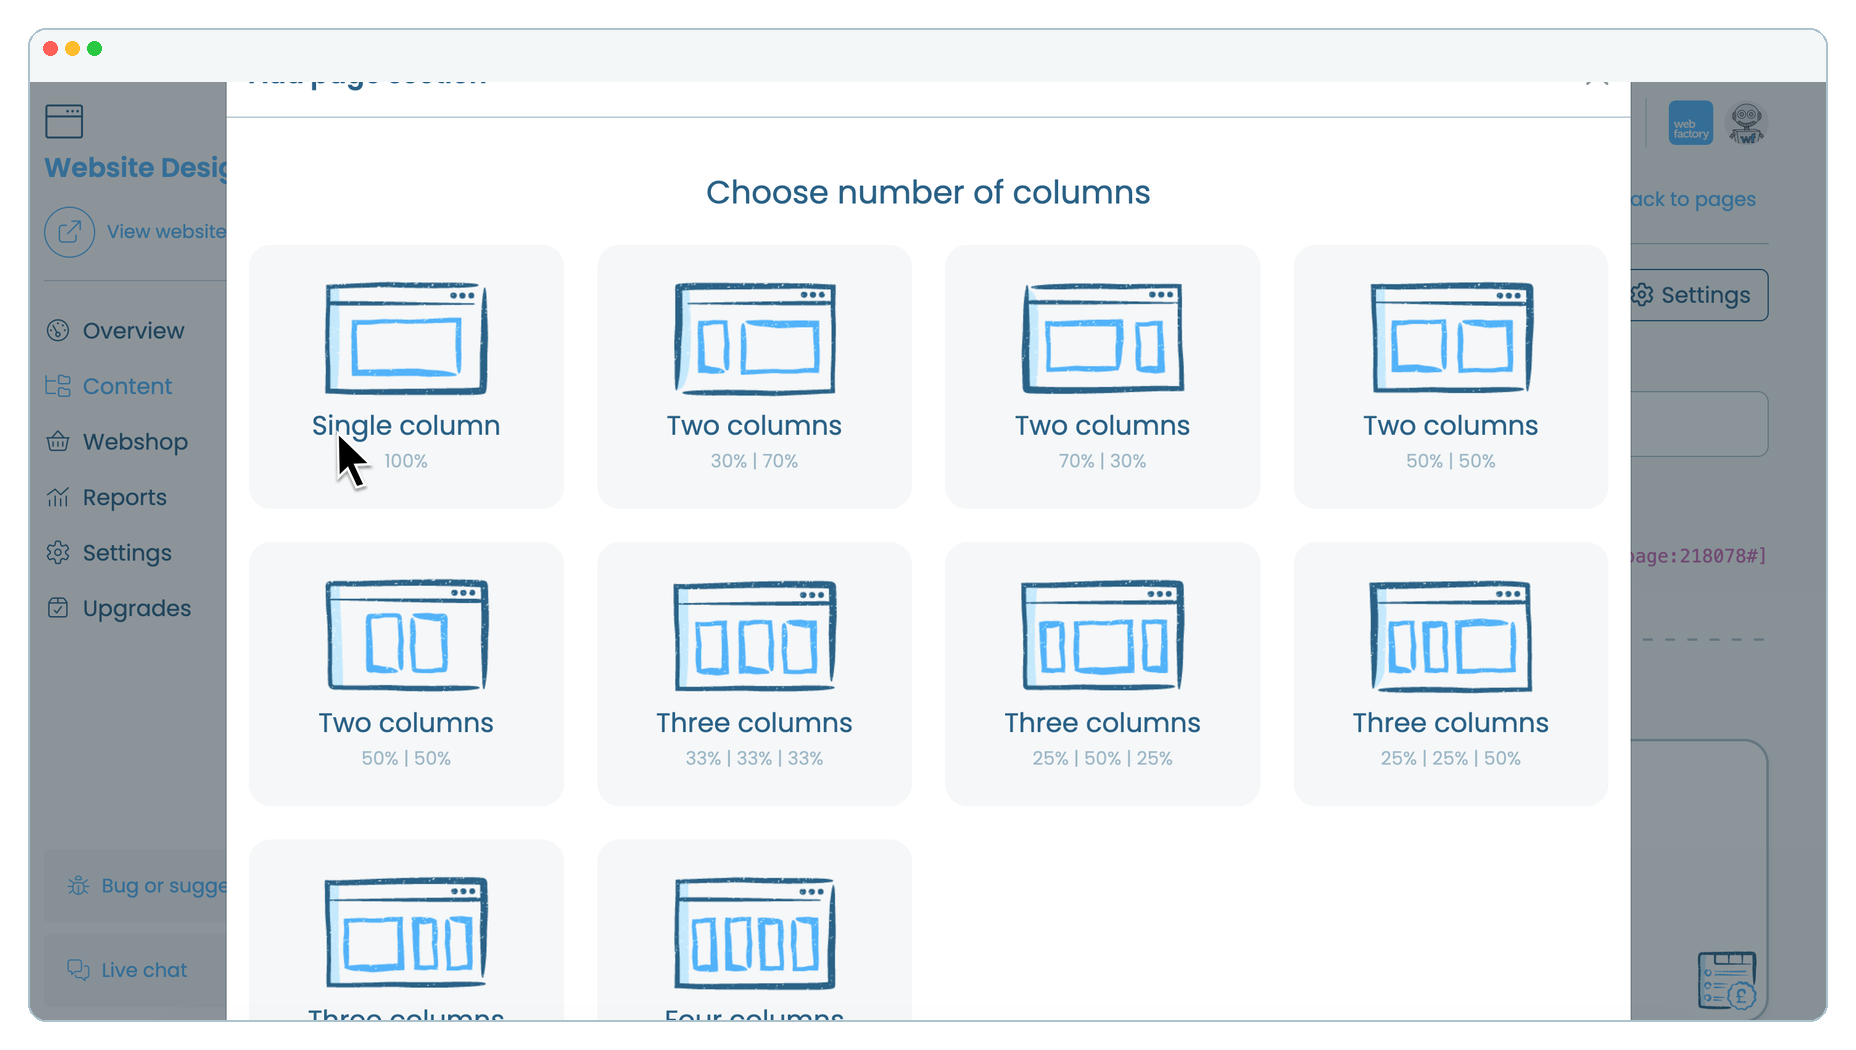
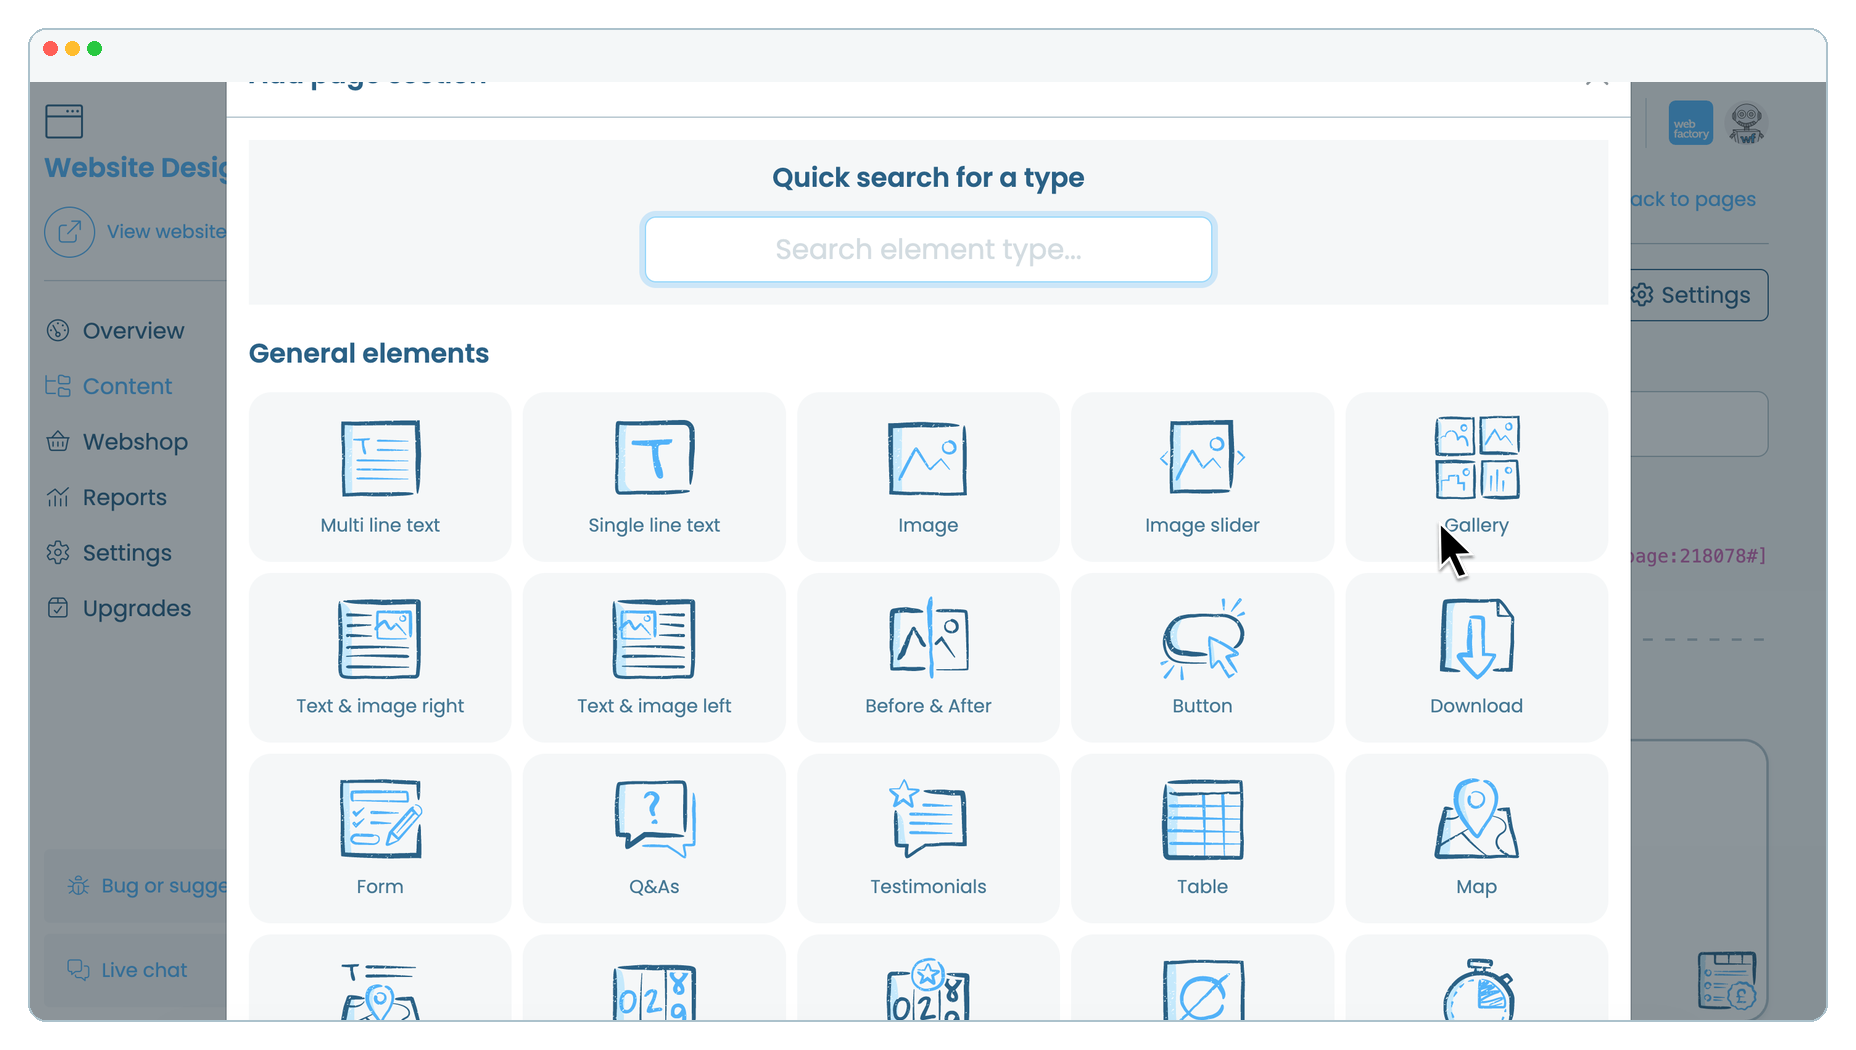
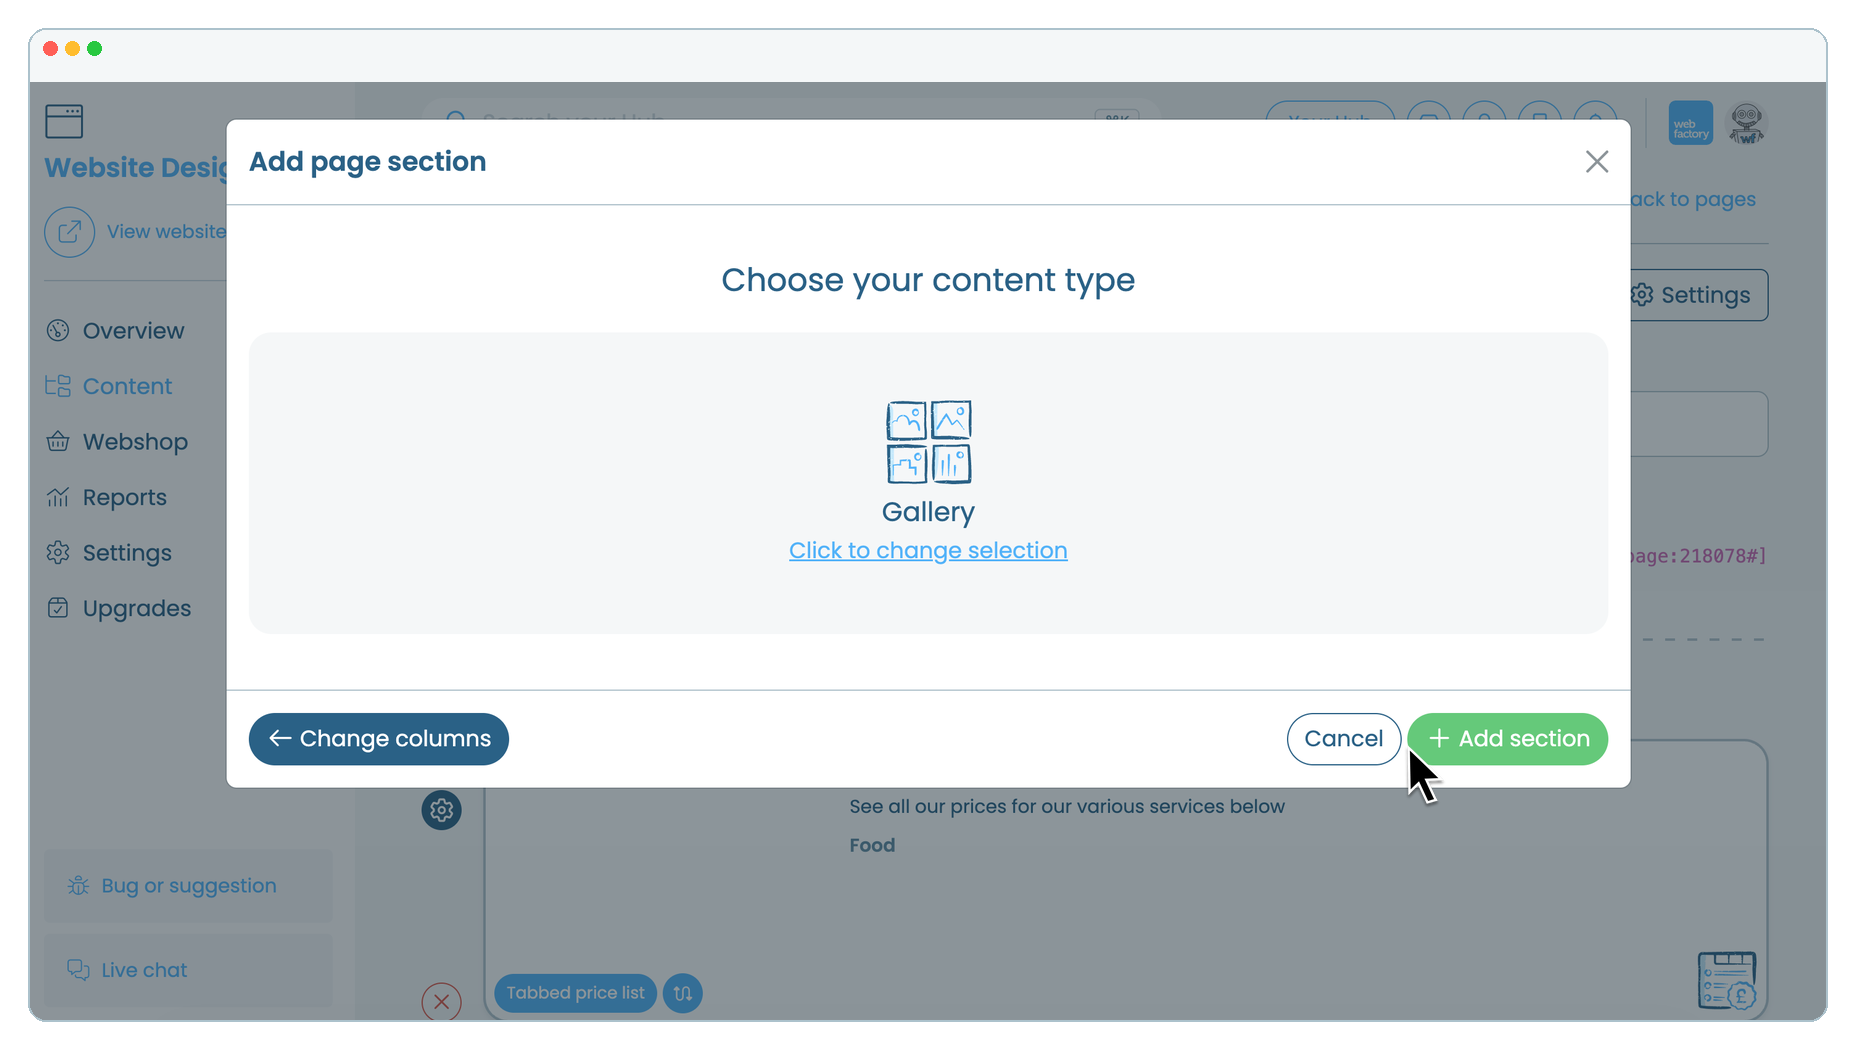
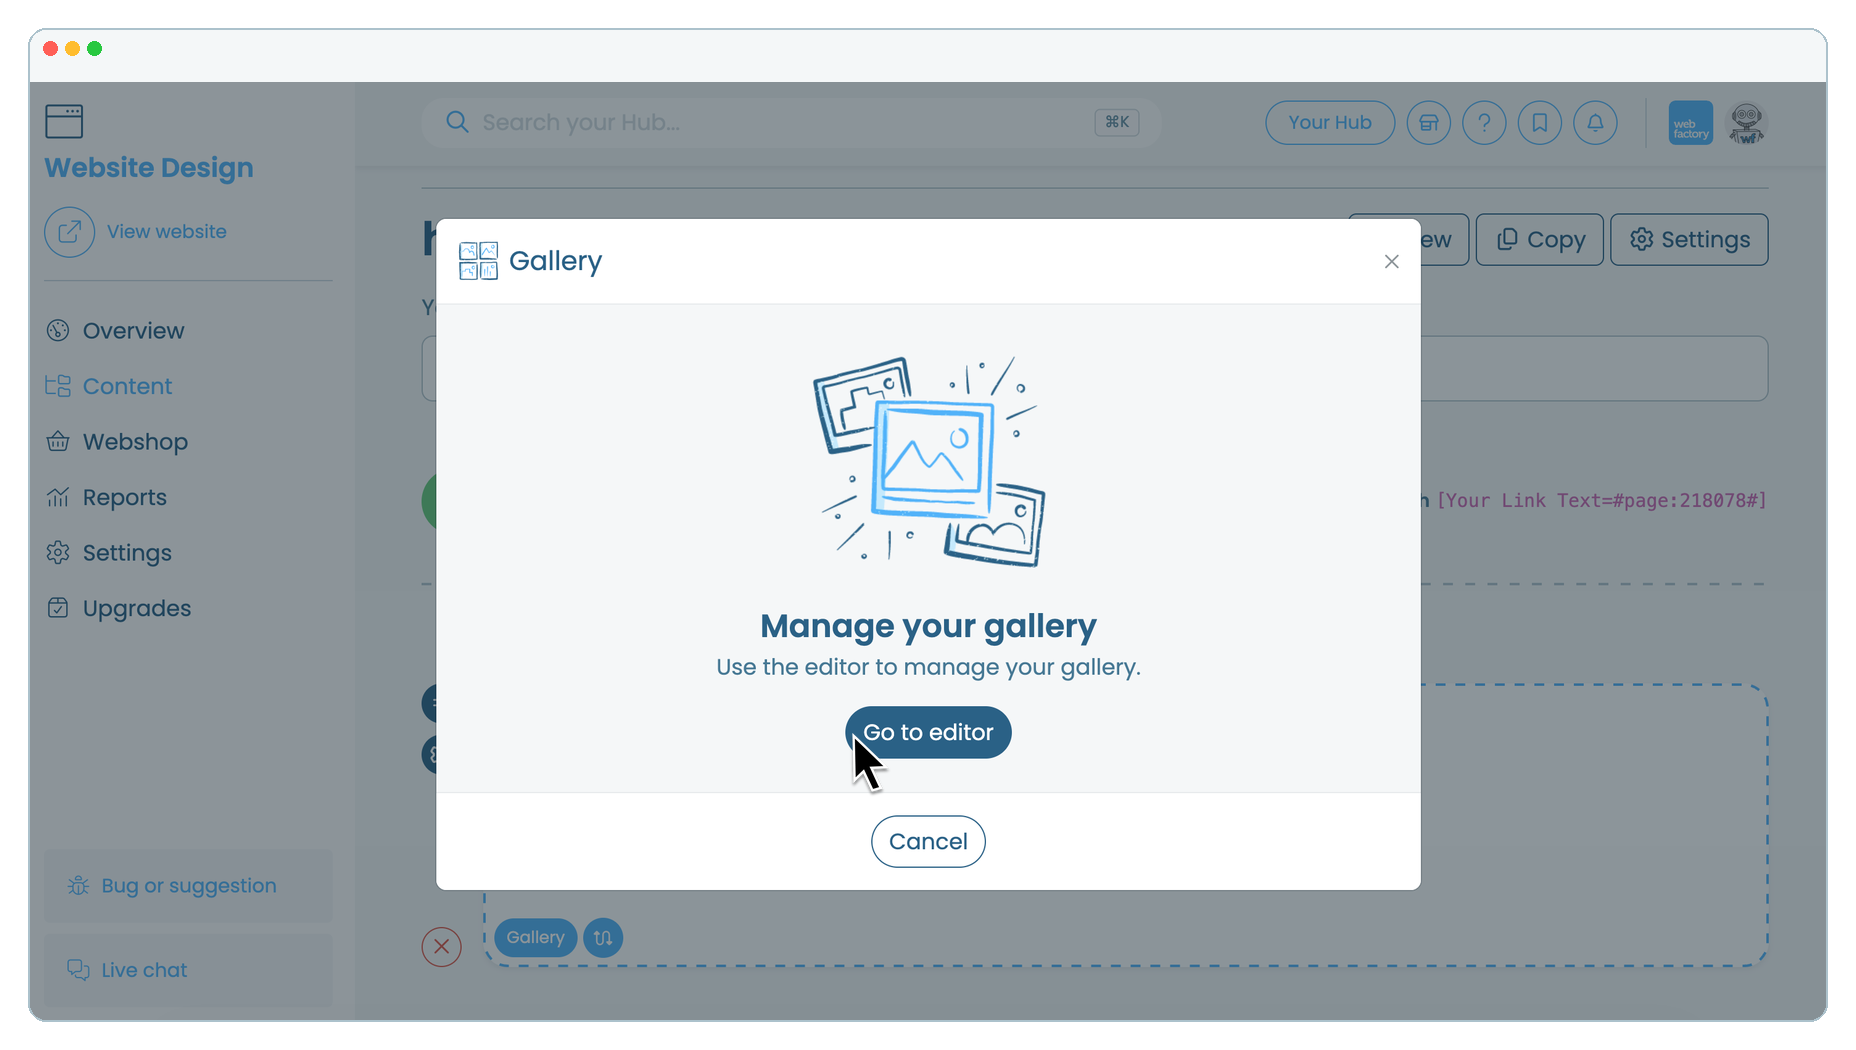
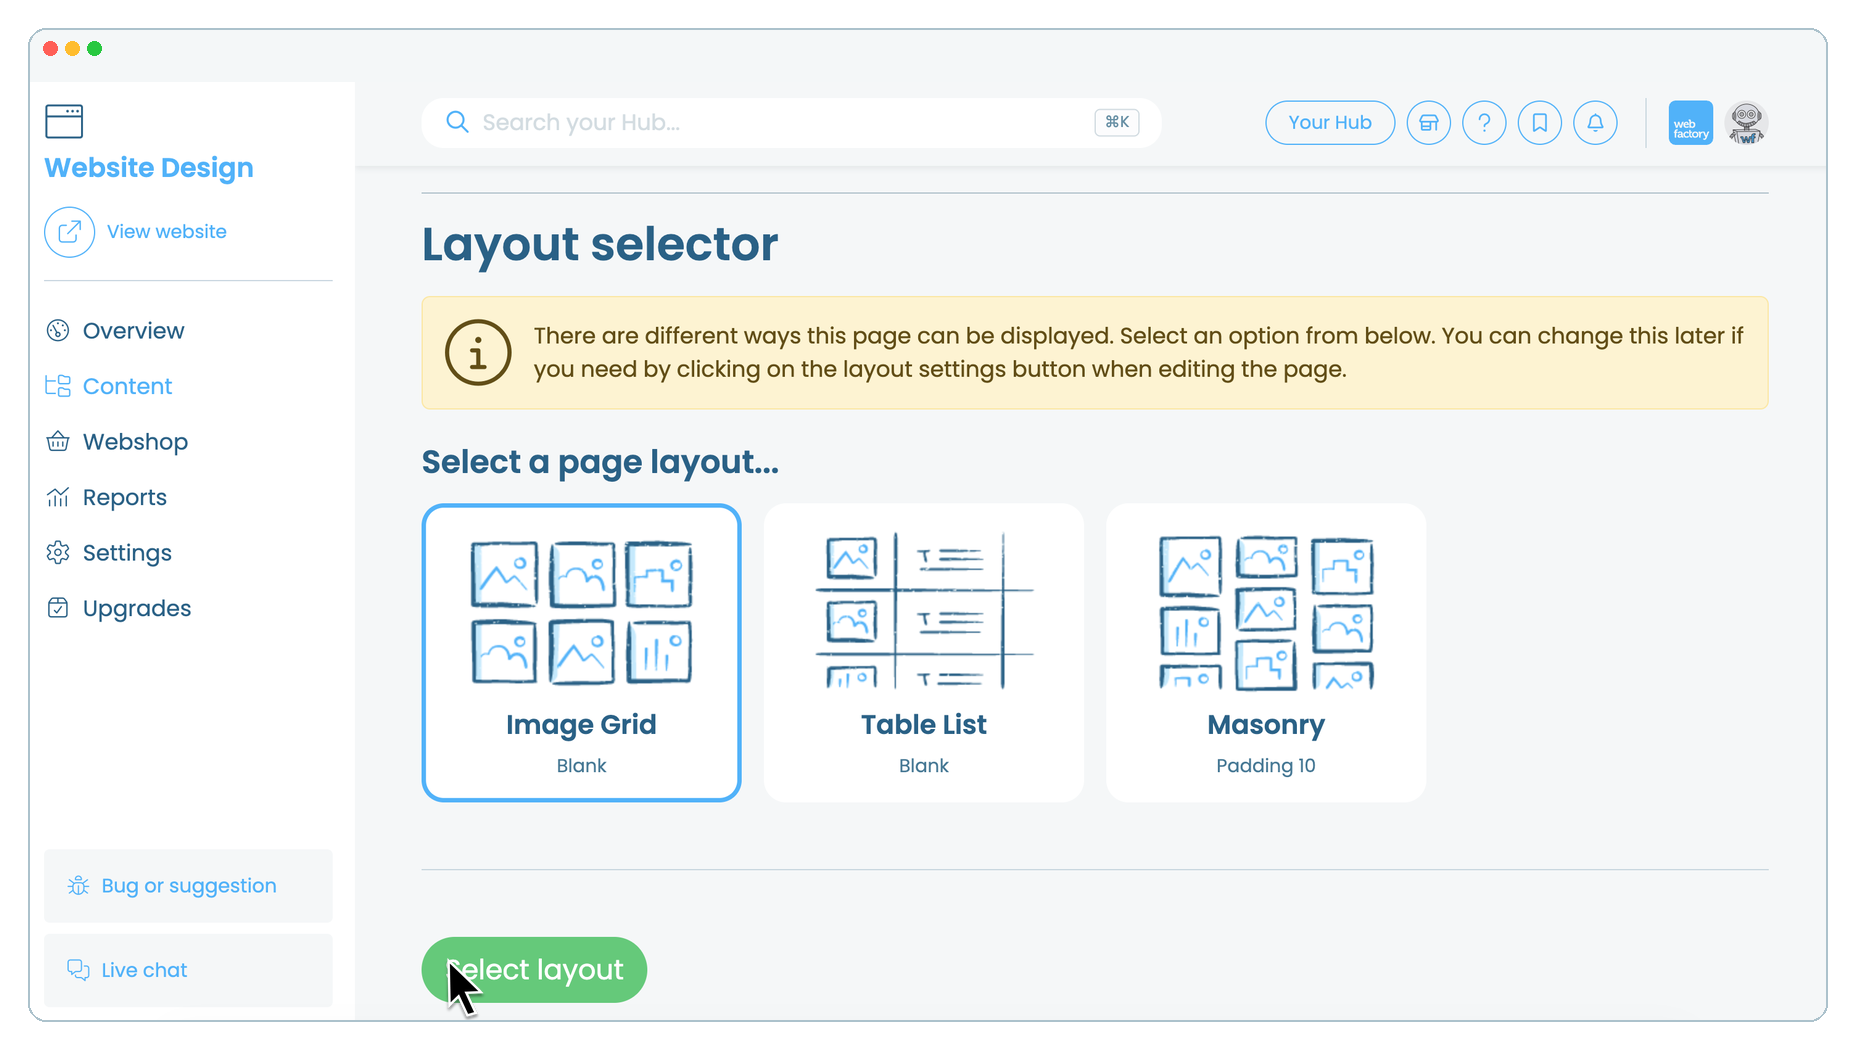
In this article, we'll guide you through adding an image gallery to a page, selecting a layout and uploading your images.
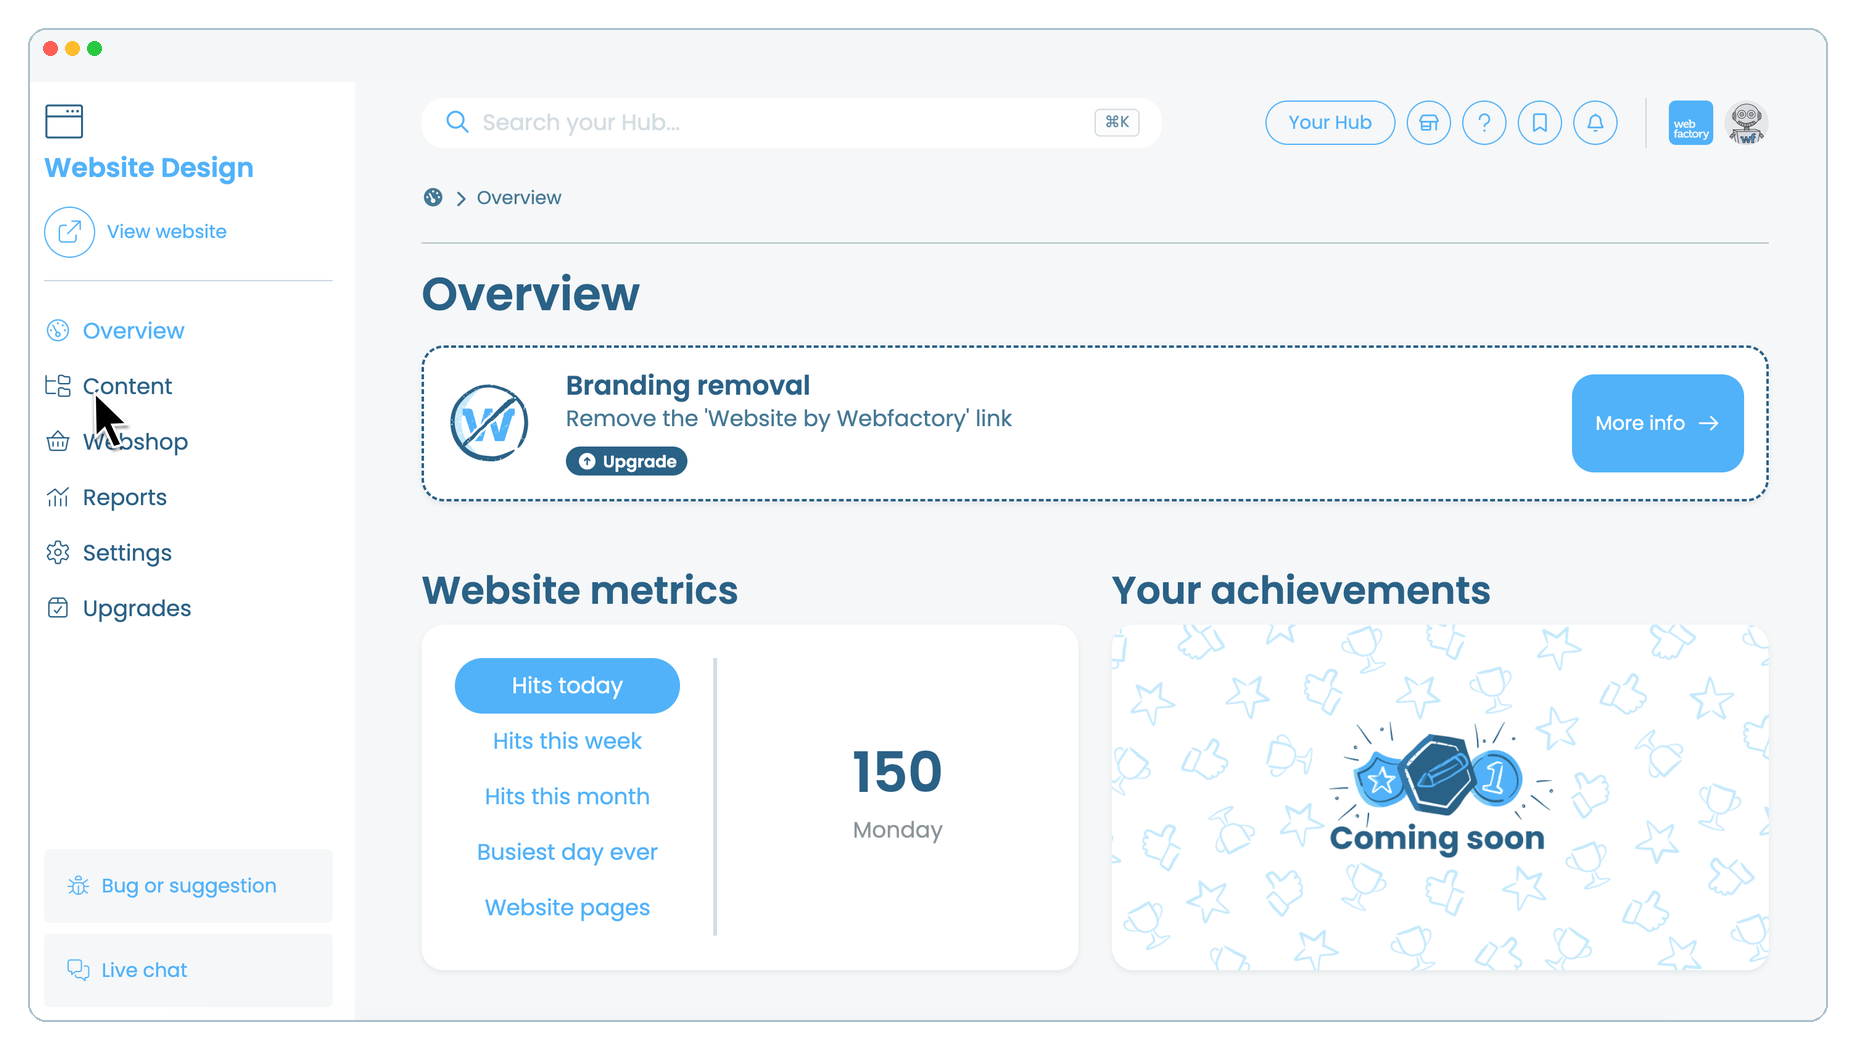
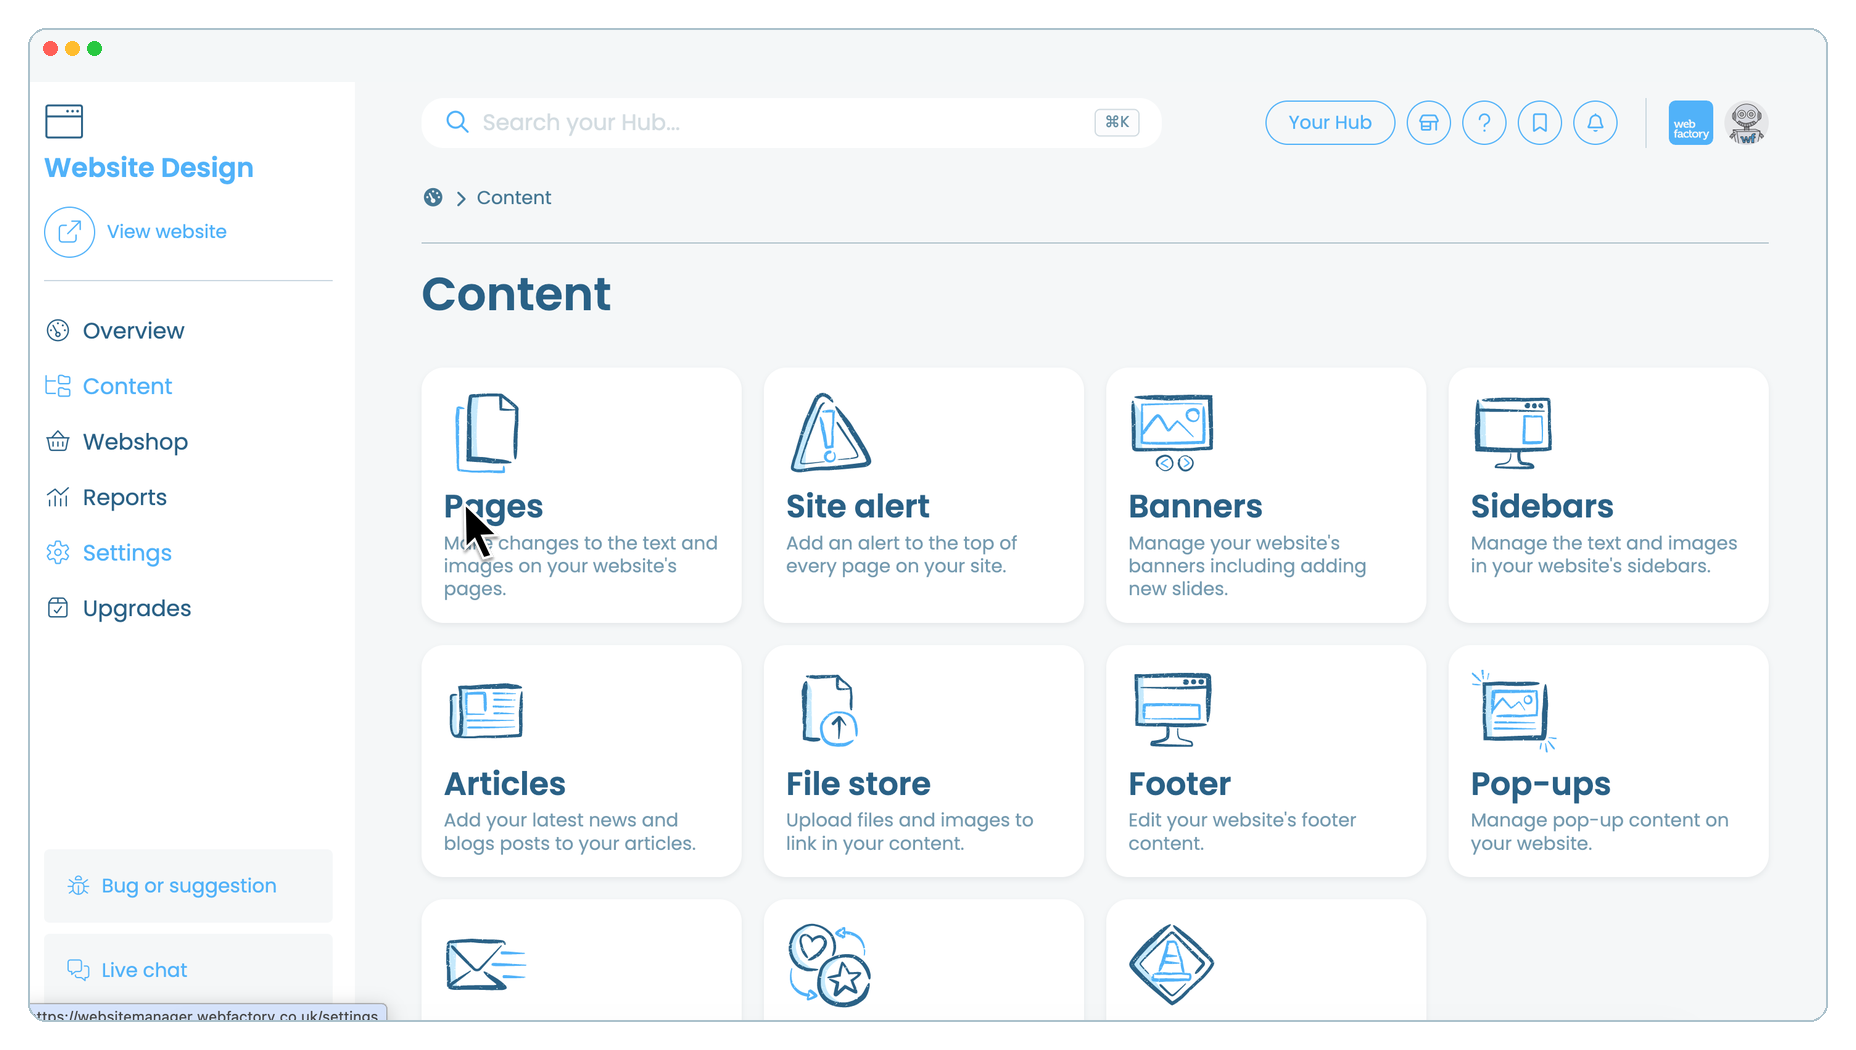
Step 3
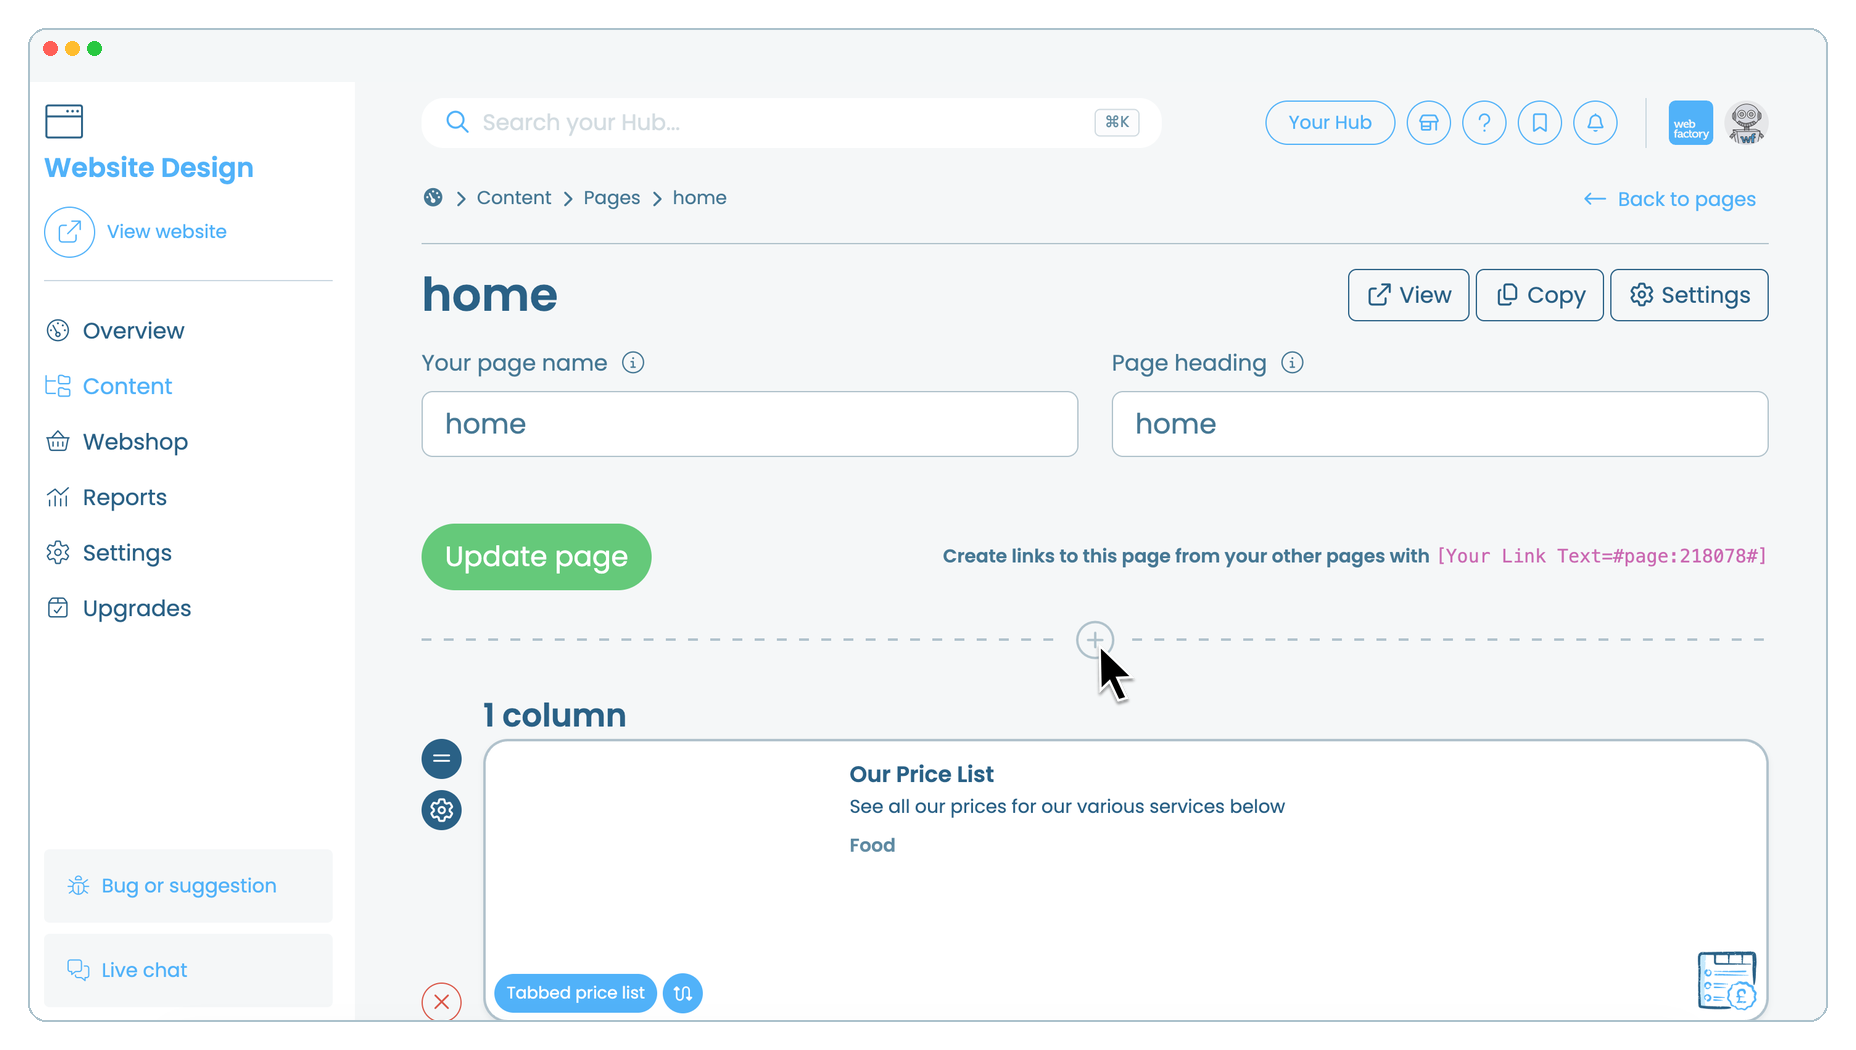
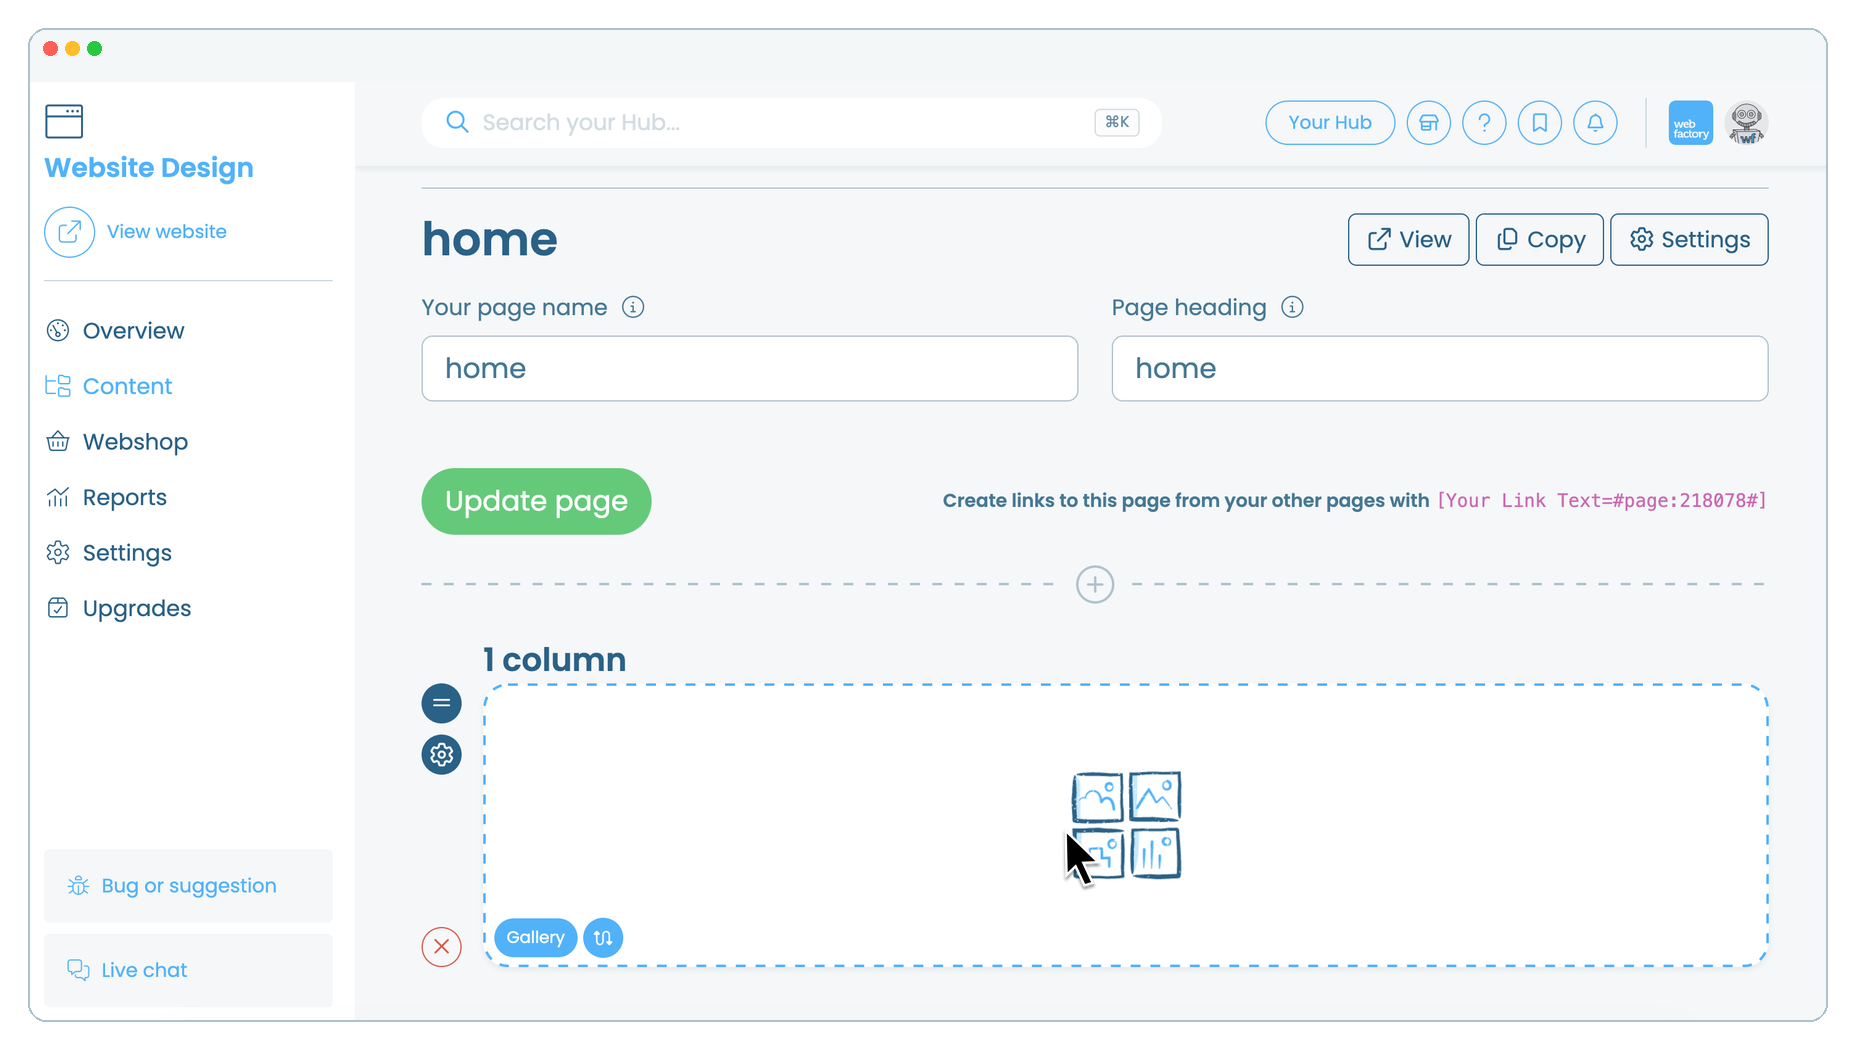
Click the name of the page where you want to add the gallery, for example 'home'.
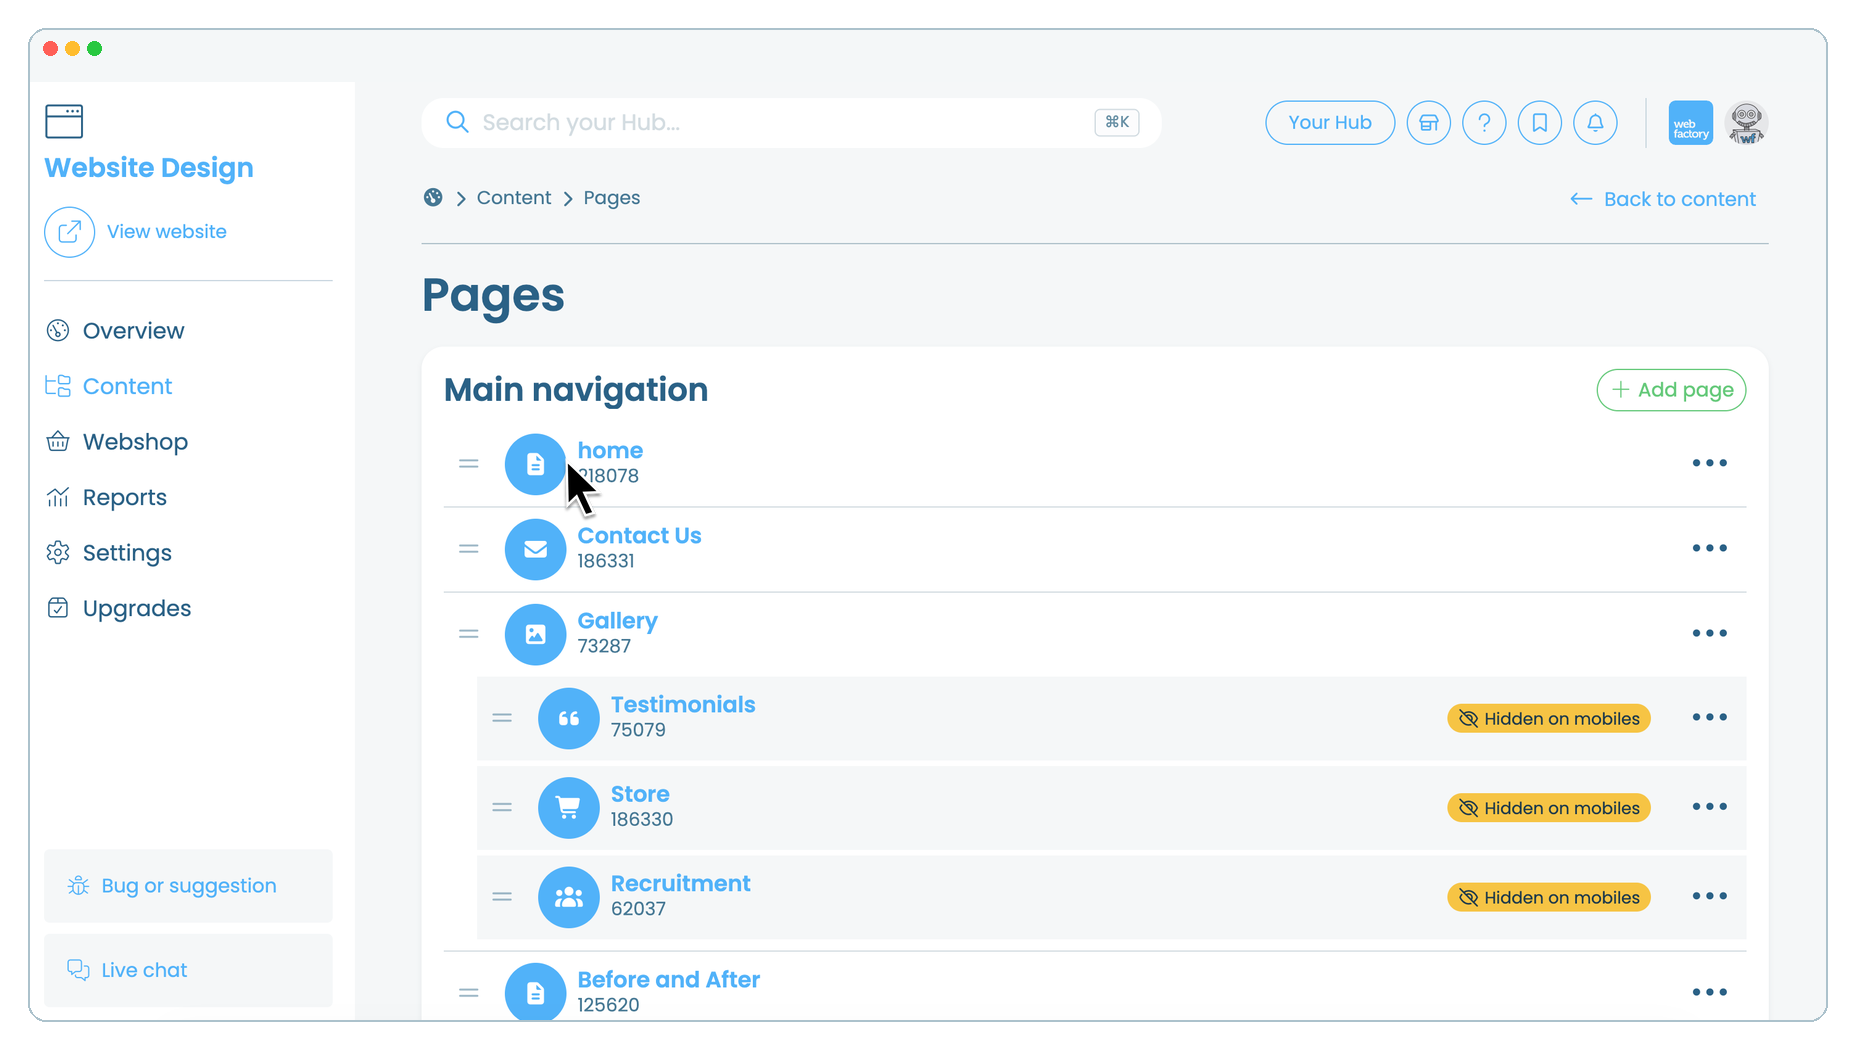
Step 11
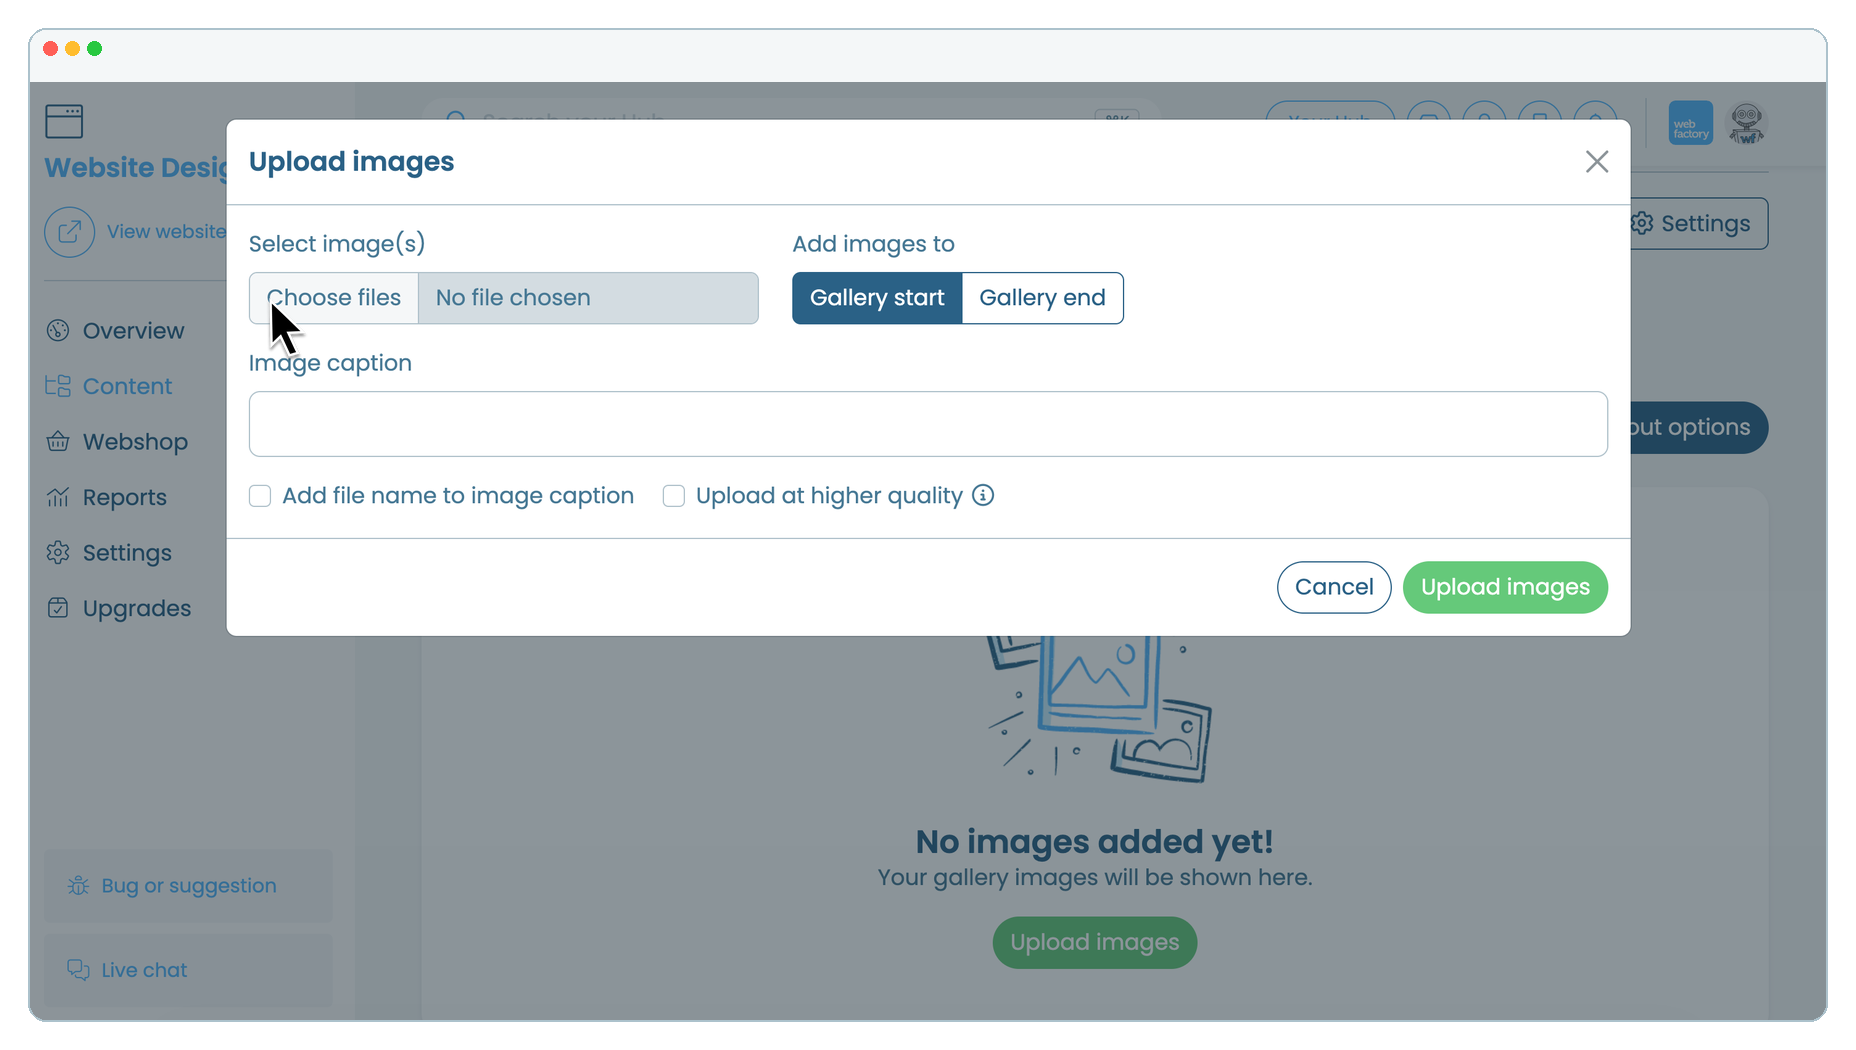
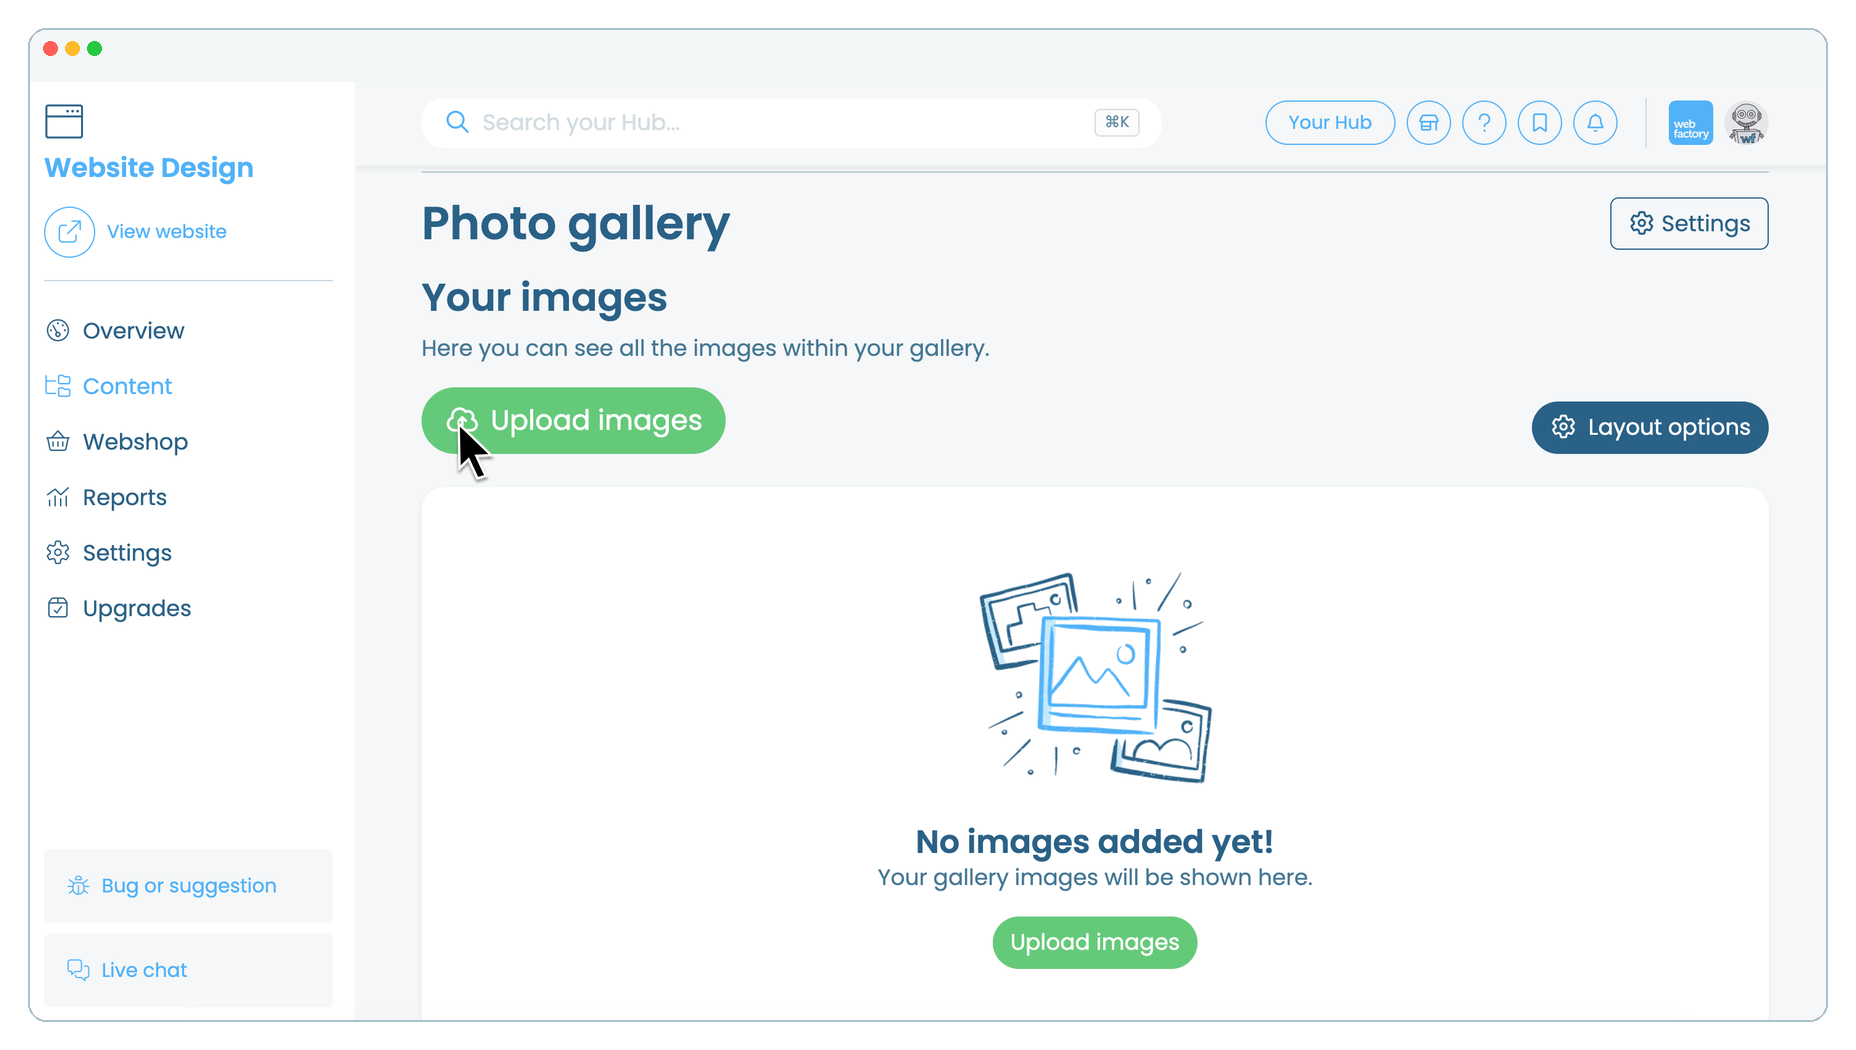
Click 'Upload images'. To change the gallery layout later, click 'Layout options'.
Step 12
Click 'Choose files' and select your images. Choose whether to add them to the 'Gallery start' or 'Gallery end', add an optional caption, then click 'Upload images'.