How to add image variations to your products
In this article, we'll guide you through the process of adding image variations to your Webshop products.
This type of product variation is one of the most common, alongside standard product variations. It allows you to display a different image for each variation option.
In the website editor, go to the 'Webshop' tab.
Click on 'Products'.
Find and click on the product you wish to edit.
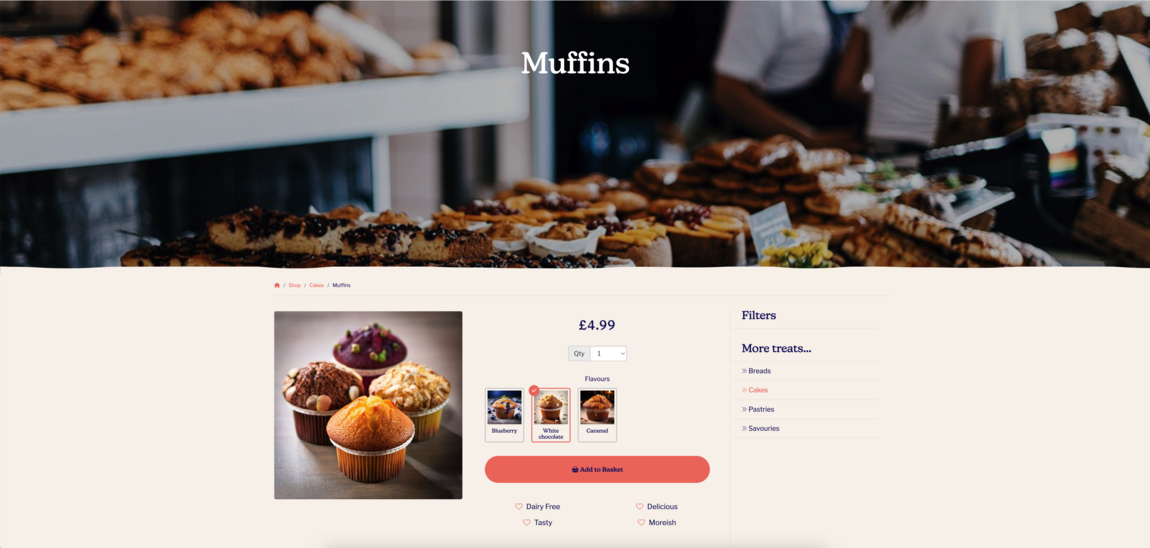
For example, if you run a bakery that sells muffins in a variety of flavours, you could create a variation for each flavour, each with its own image.
Click the 'Variations' tab.
Click on the 'Add variation' button.
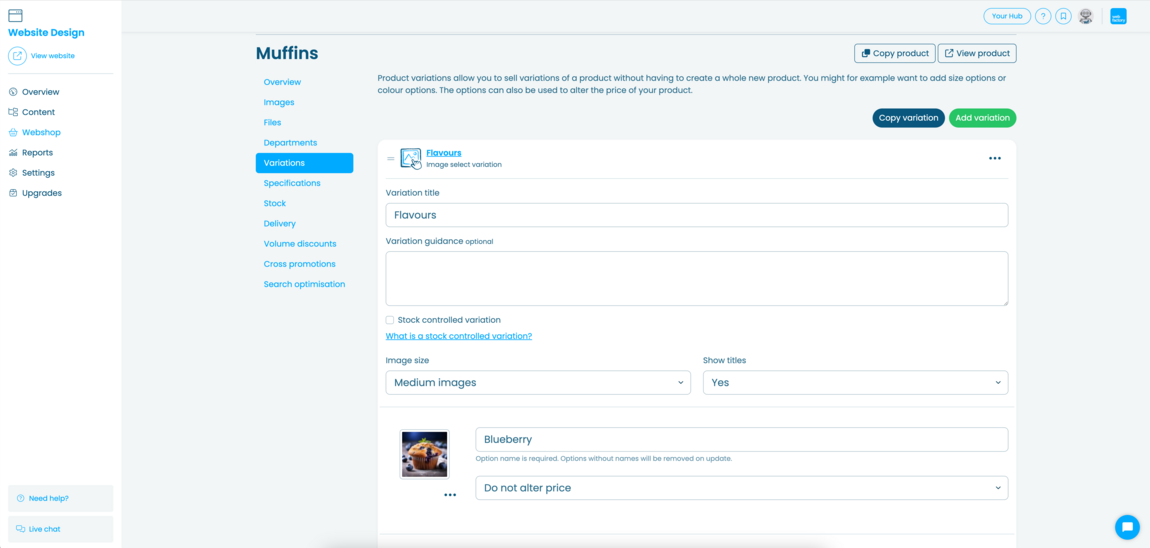
Name your variation, then choose 'Image select' and click 'Add variation'.
Find the newly created variation and click on it.
You can choose the image size and whether you'd like to display the titles of your variation options.
You can now add your variation options.
- Name each variation option and upload an image. In this example, we'll call our options 'Blueberry', 'White Chocolate' and 'Caramel', and upload an image for each.
- You can add as many options as you like by clicking on the 'Add option' button.
Finally, click on the 'Update' button.
Here's an example of the image variation's editor.
Here's an example of how image variations appear on your product's page.