How to personalise your map pin
In this article, we'll guide you through the steps of personalising your map pin on your website.
Upload the image or icon you wish to use to your file store if you haven't already, or choose our Custom map pin design upgrade option to have a map pin professionally designed by our team.
Right-click on the newly uploaded image or icon from your file store and click on 'Copy link address'.
In the website editor, go to the 'Settings' tab.
Select the 'General' section.
Scroll down and find the 'Custom map pin URL' setting.
Paste the URL of the icon or image you wish to add as a replacement.
Click the 'Update settings' button to save your changes.
At Webfactory, we've chosen to display our logo on a blue background.

Here you can see how our custom map pin will appear when added using the Custom map pin setting.
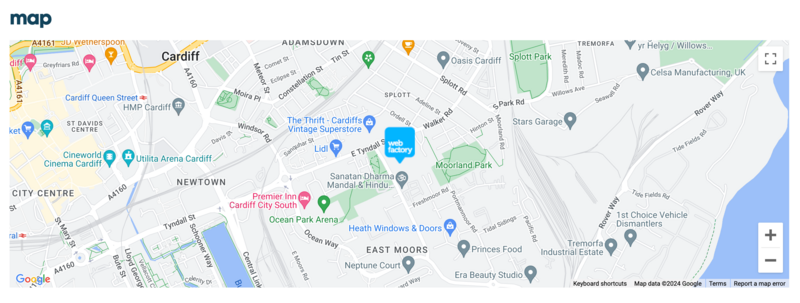
Make sure that the size is neither too big nor too small. We recommend no more than 60 pixels in width and 80 pixels in height.