How to add and manage testimonials on a website page
In this article, we'll guide you through adding a Testimonials section to a website page.
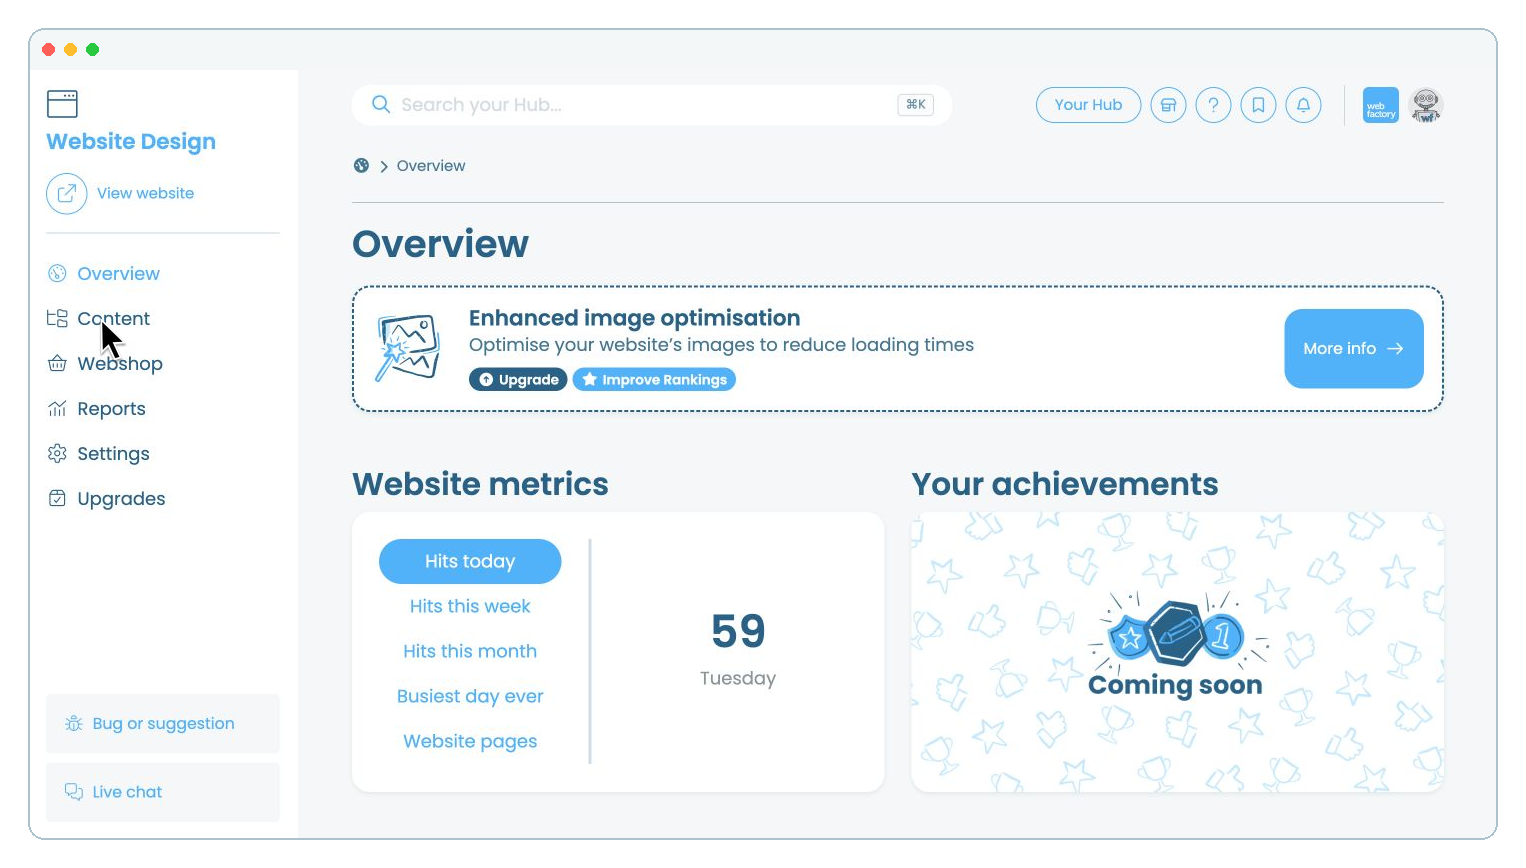
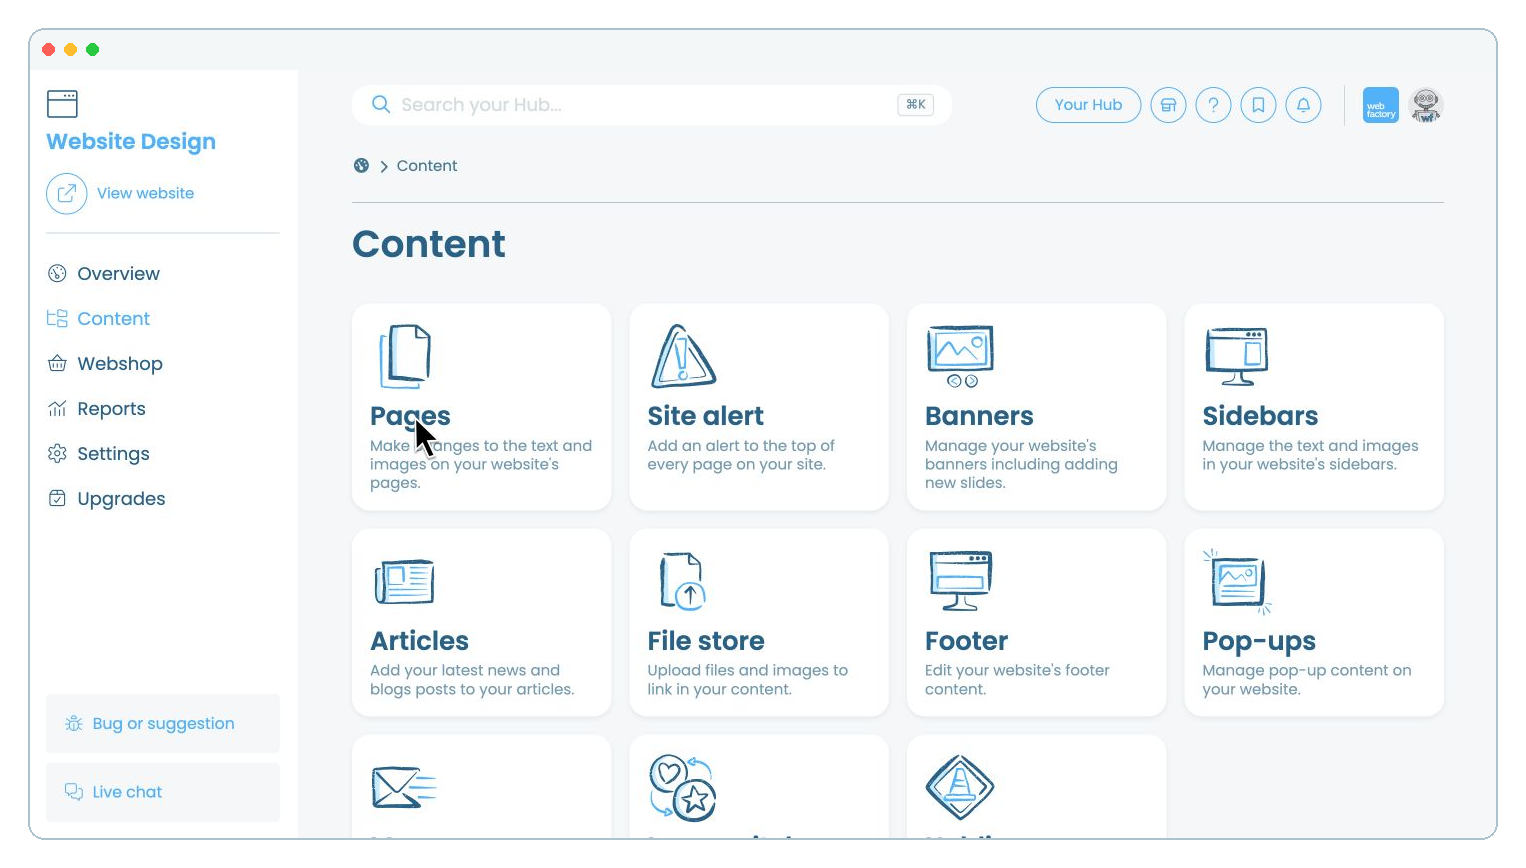
Step 3
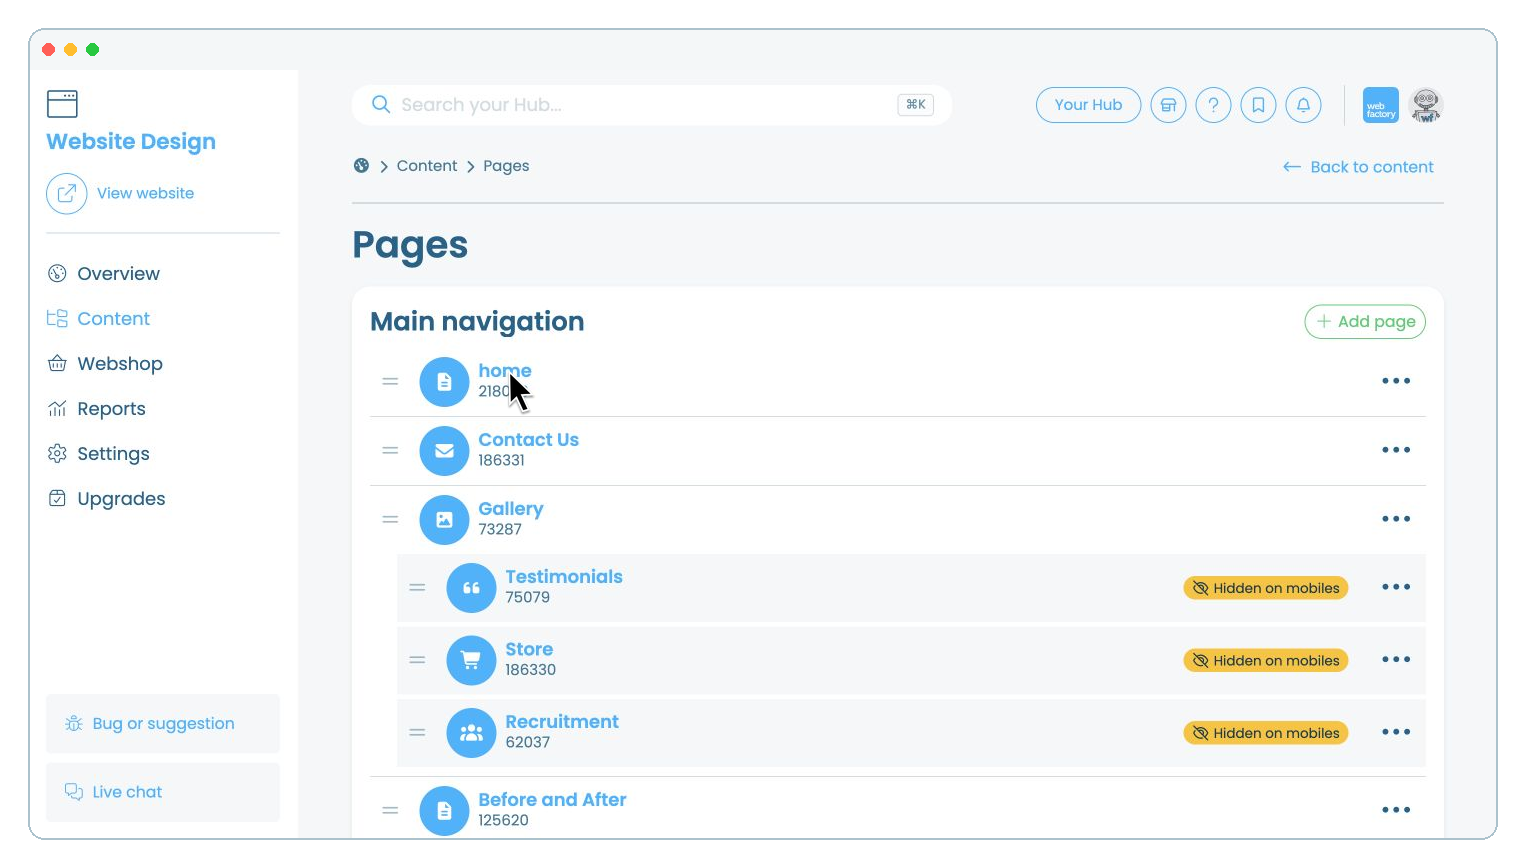
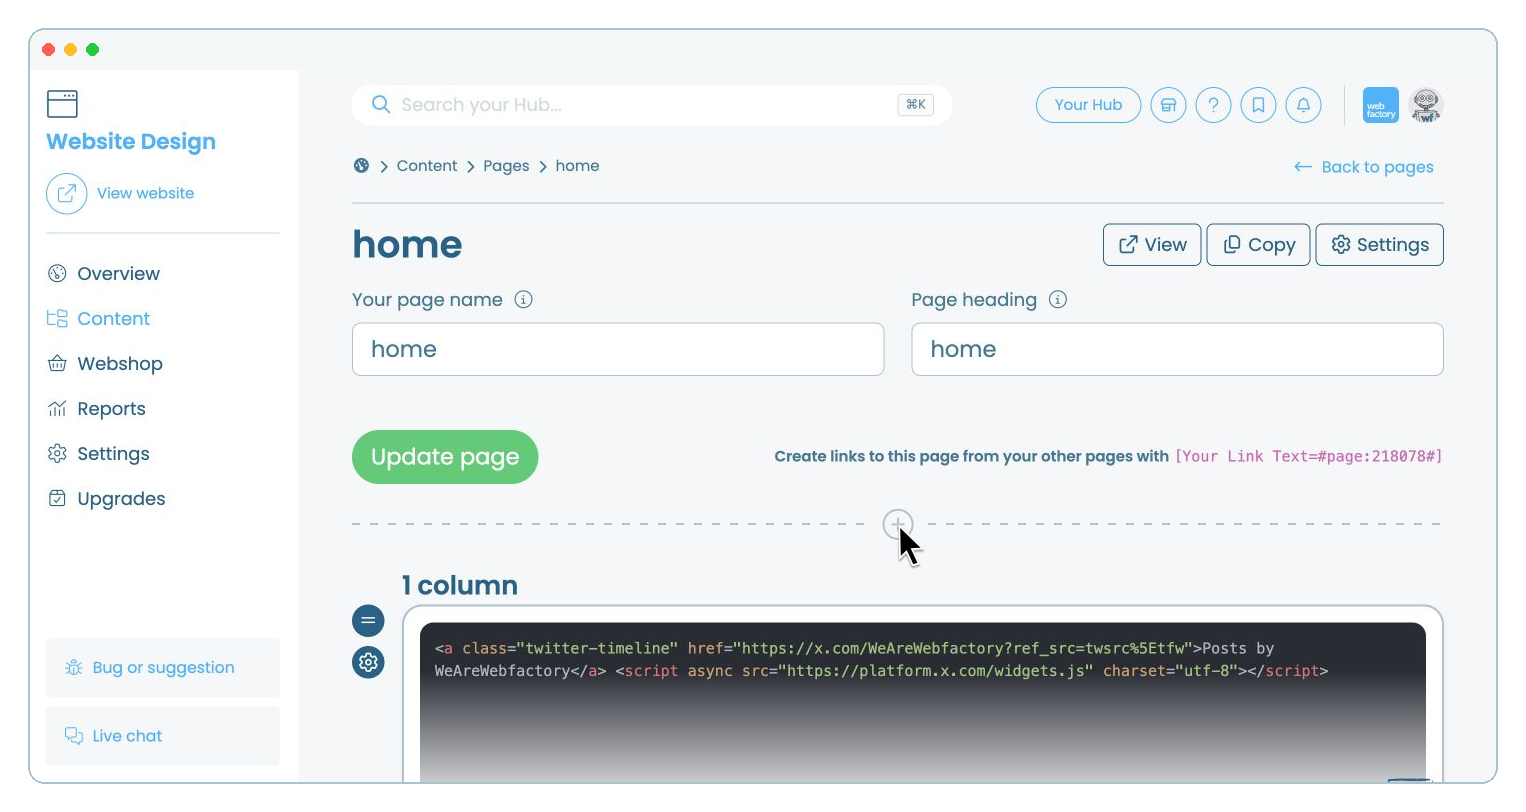
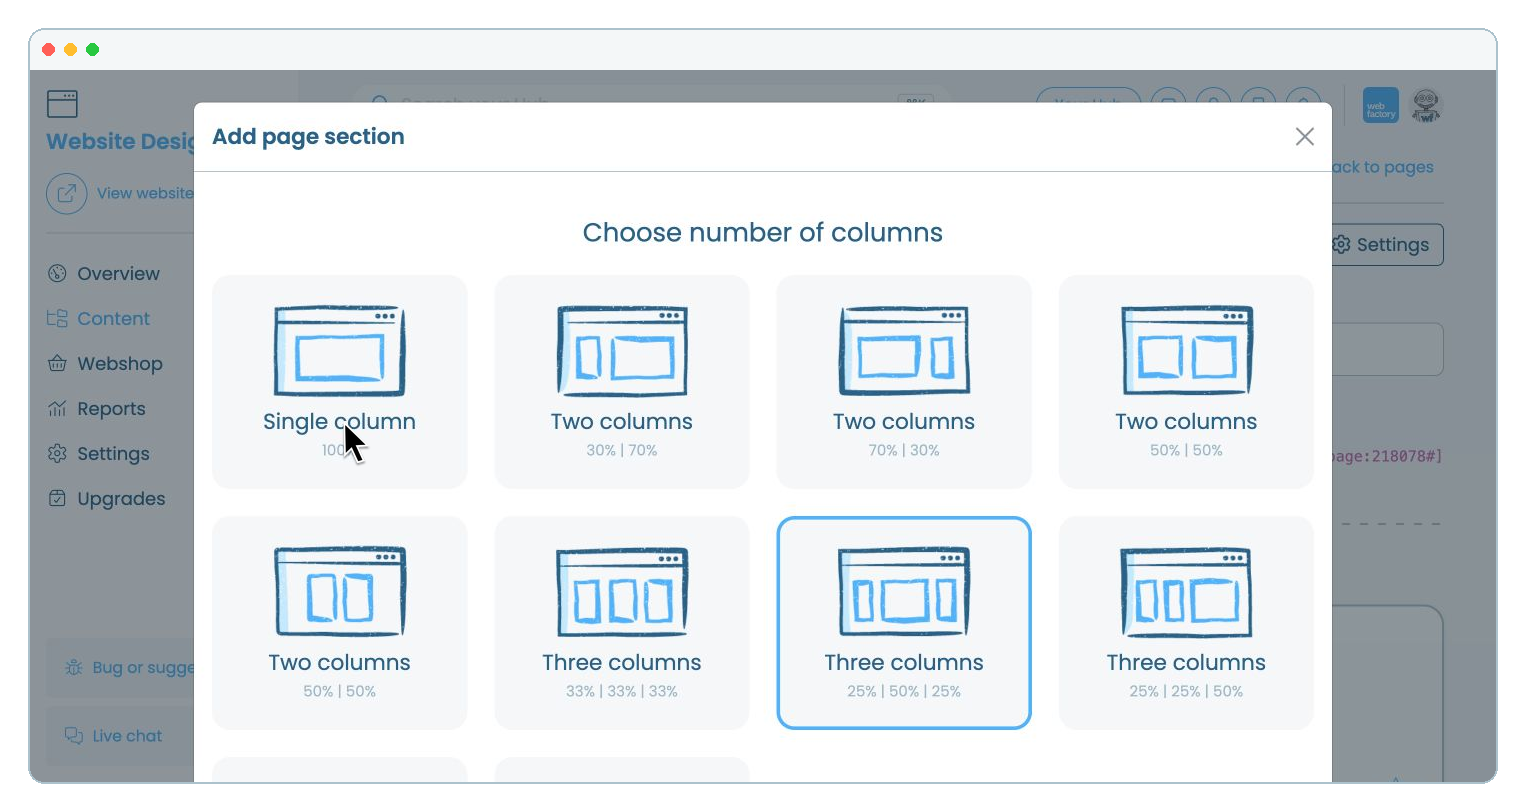
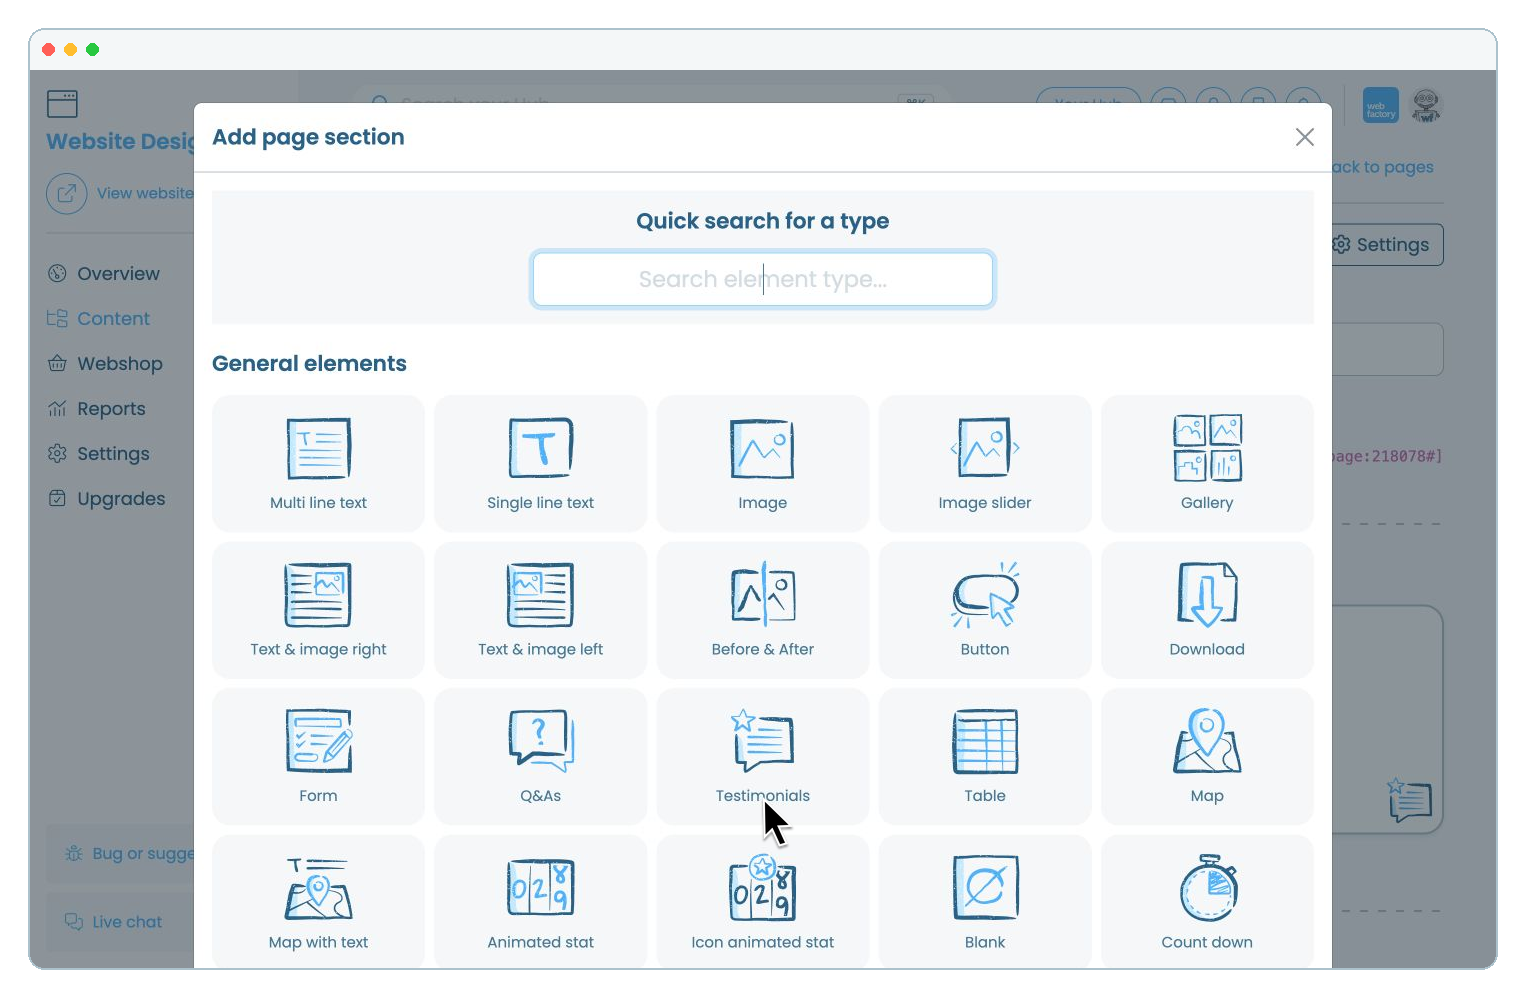
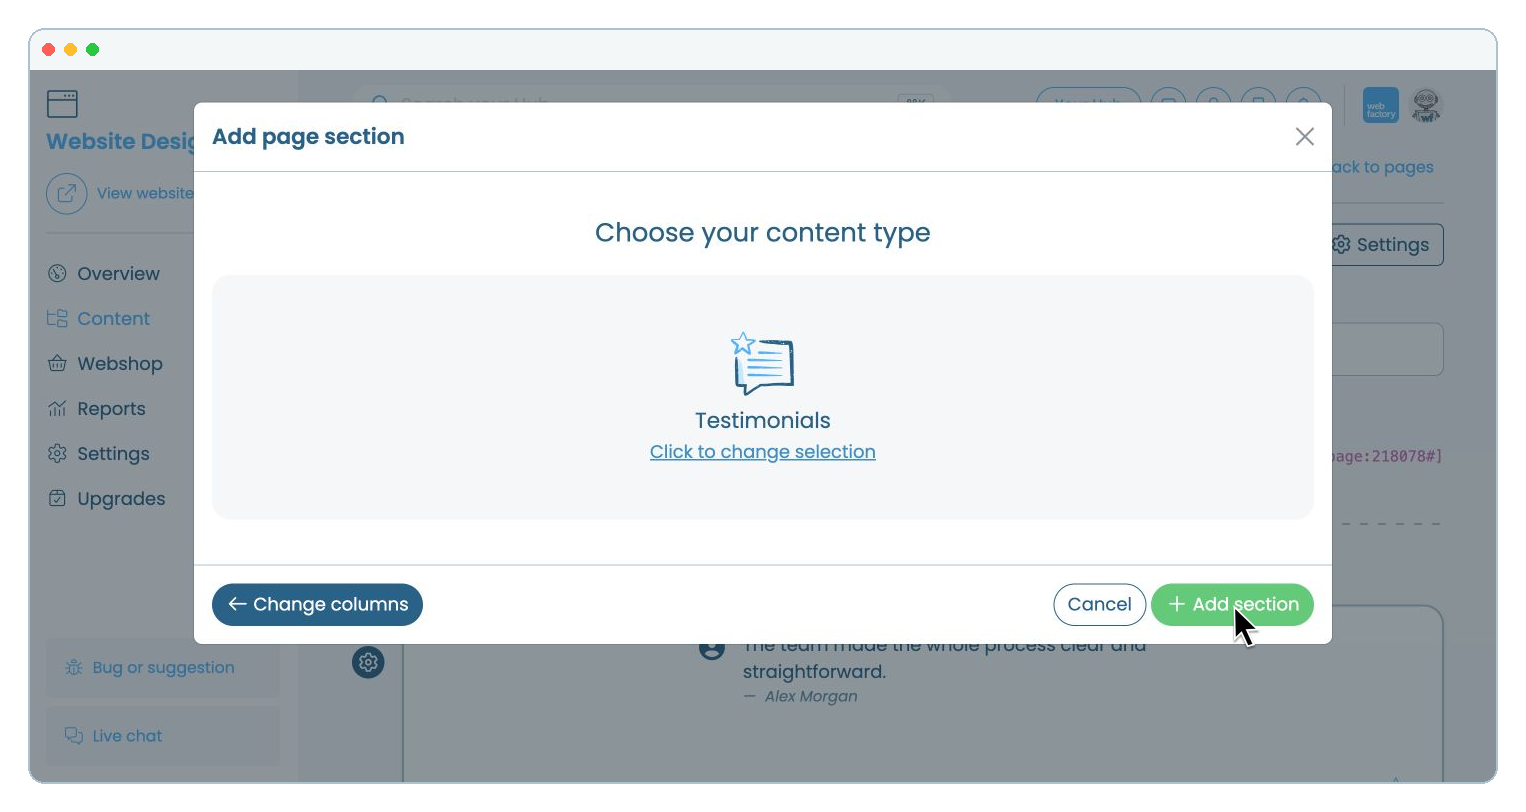
Click the name of the page where you want to add testimonials, for example 'home'.
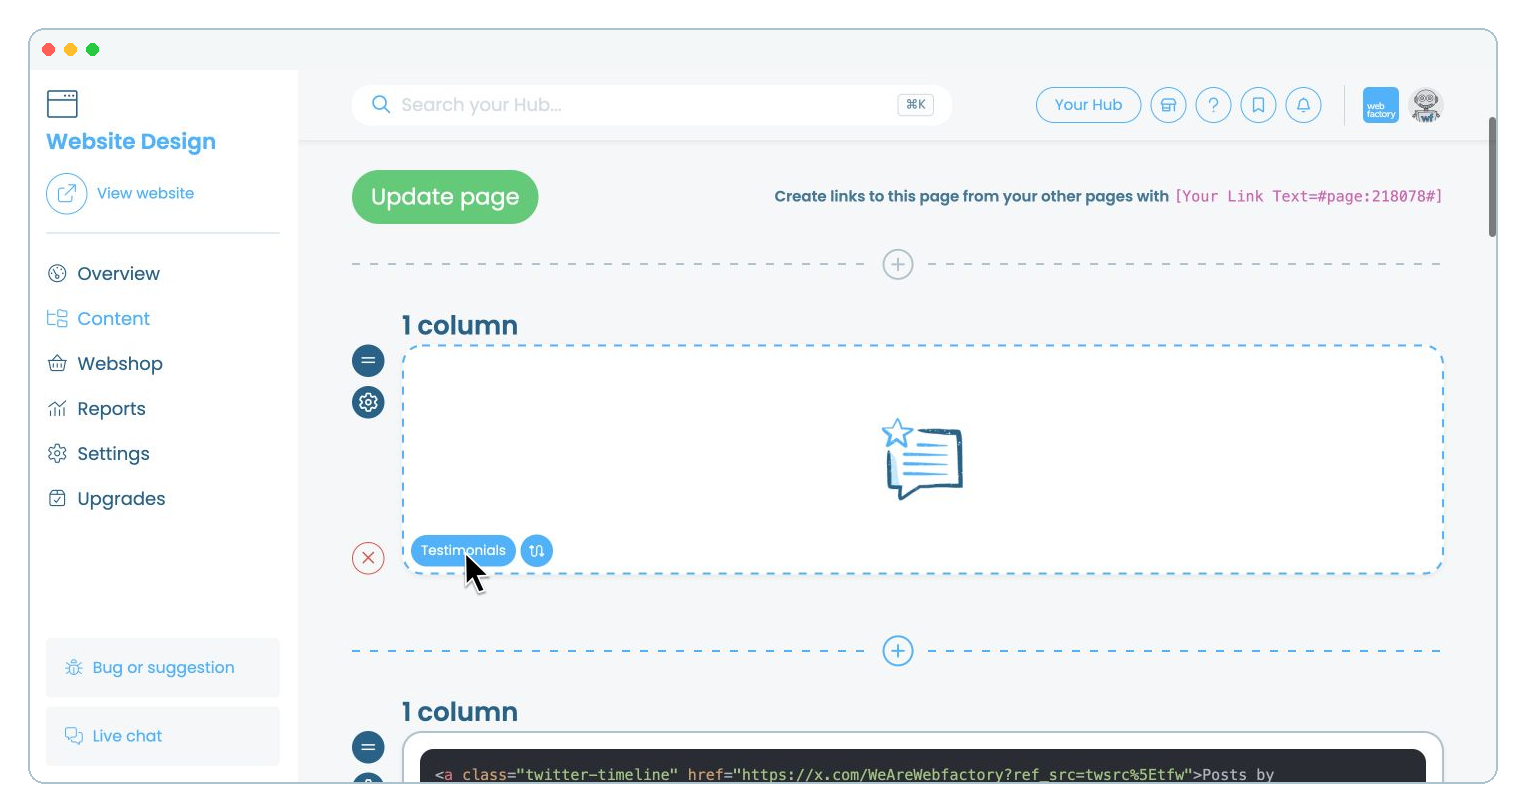
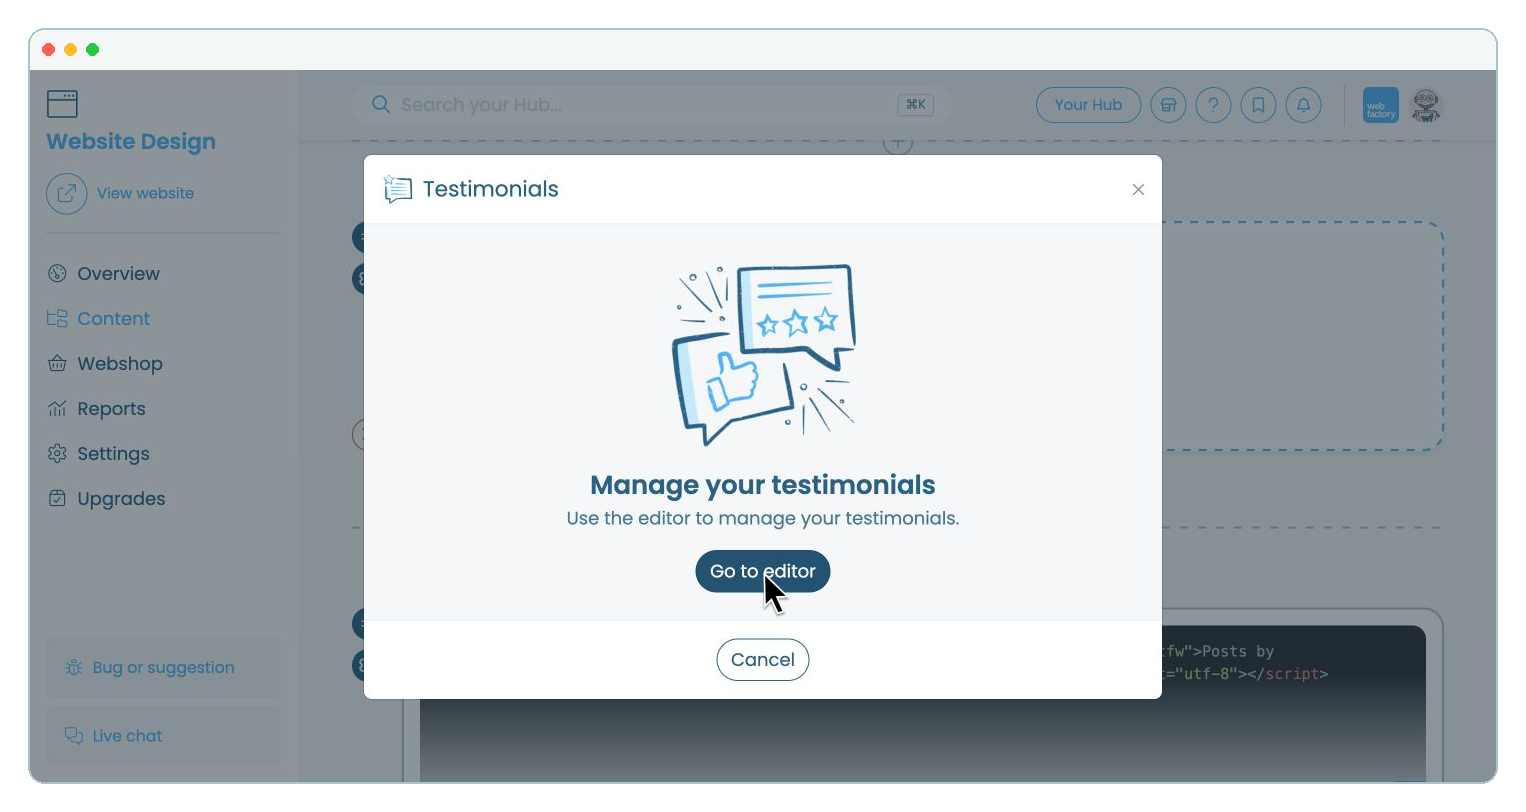
Step 10
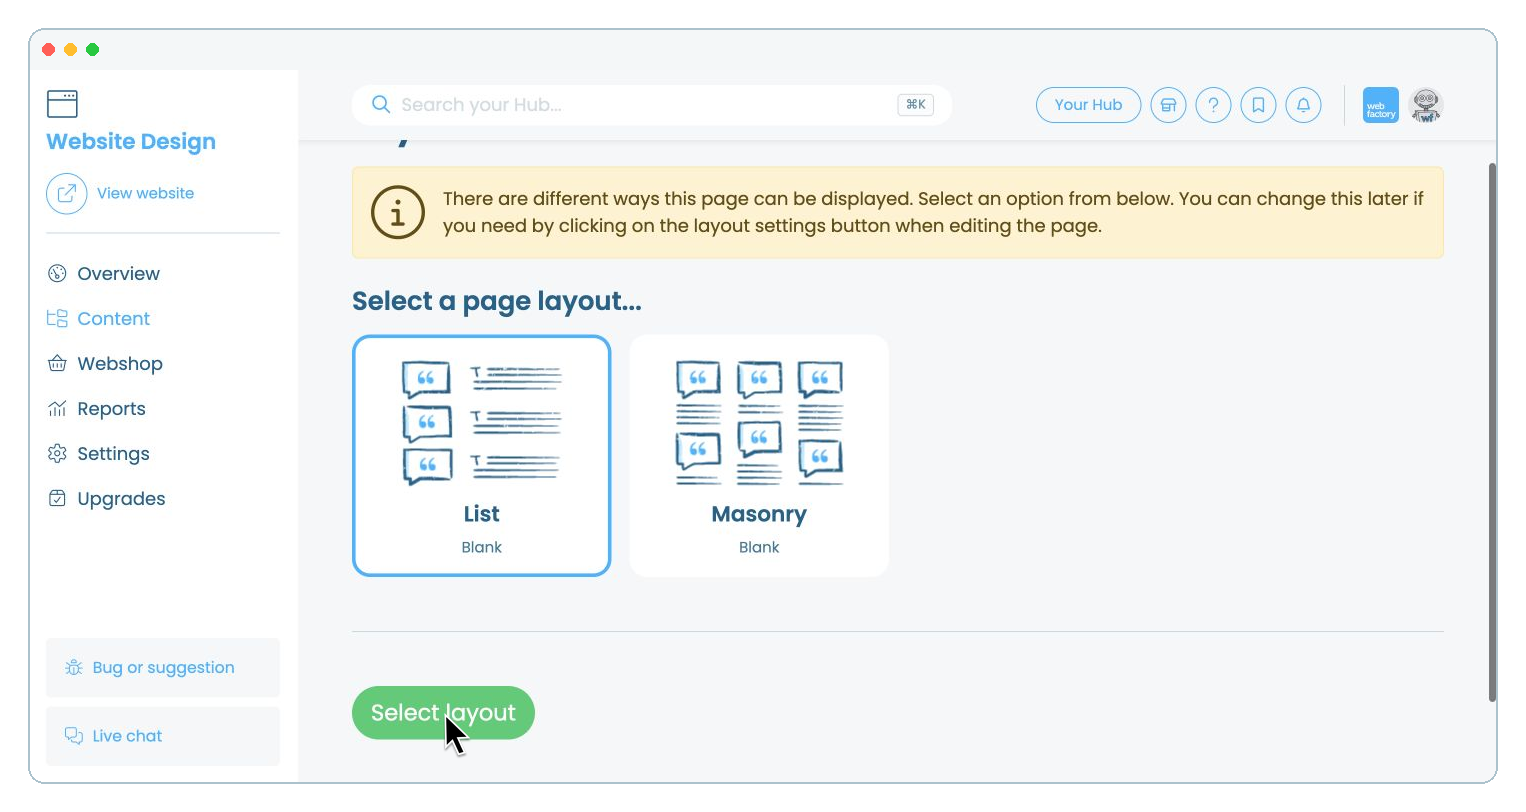
Choose a layout for your testimonials, then click 'Select layout':
- List shows testimonials one after another;
- Masonry arranges them in columns.
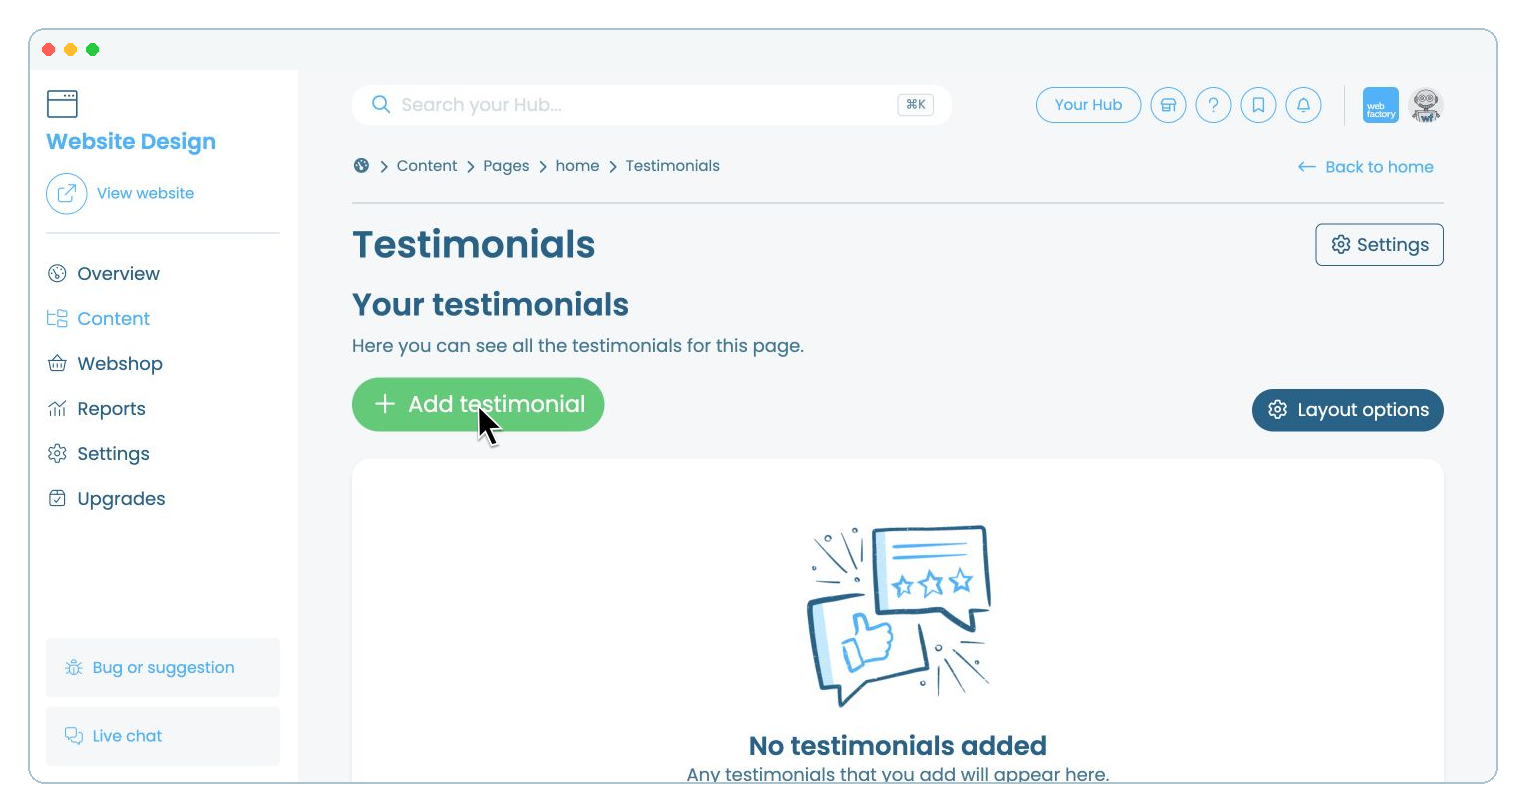
Step 12
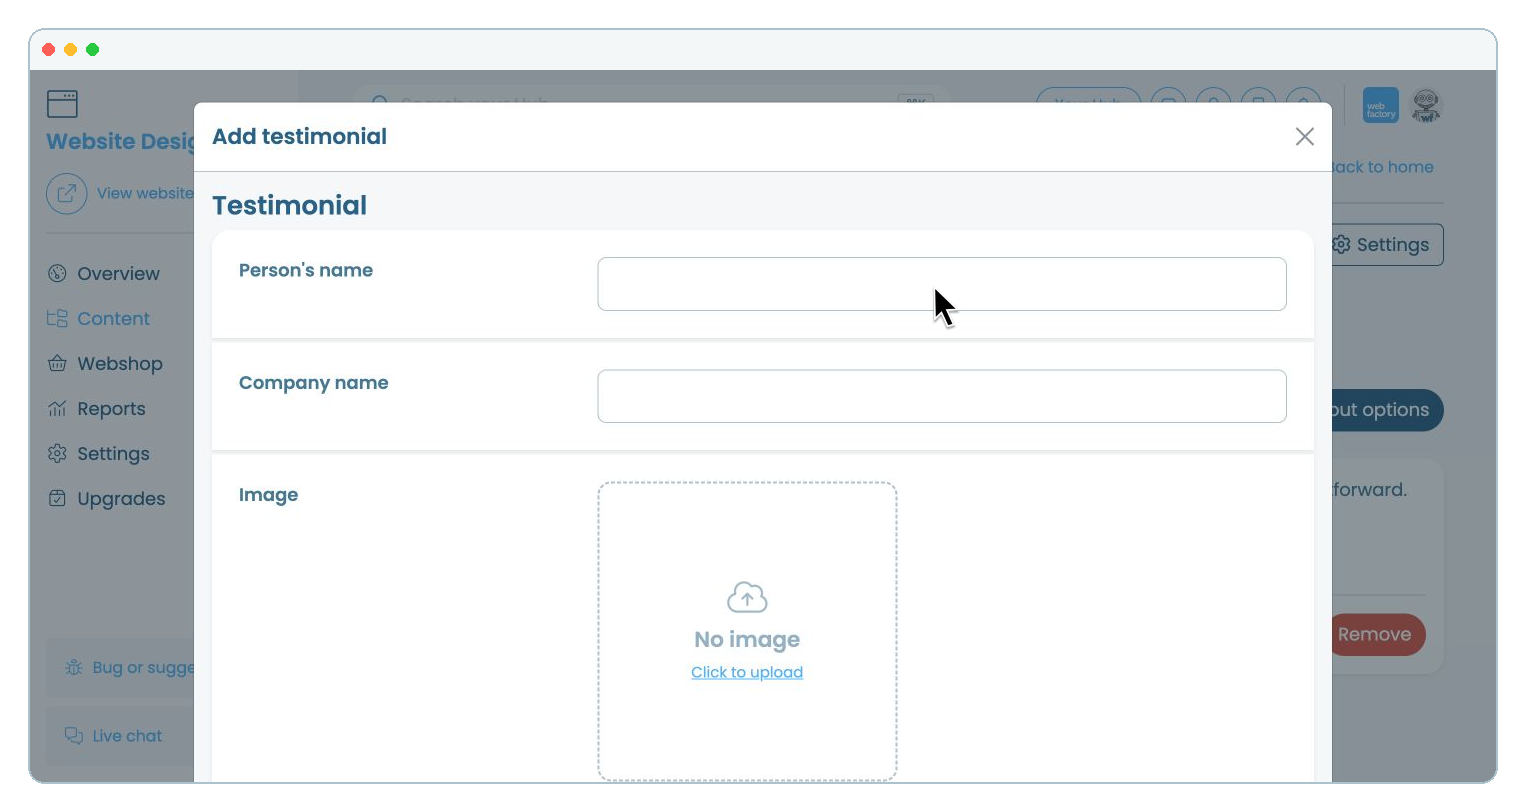
Enter the person's name and company name. You can also click the image area to add a photo.
Step 13
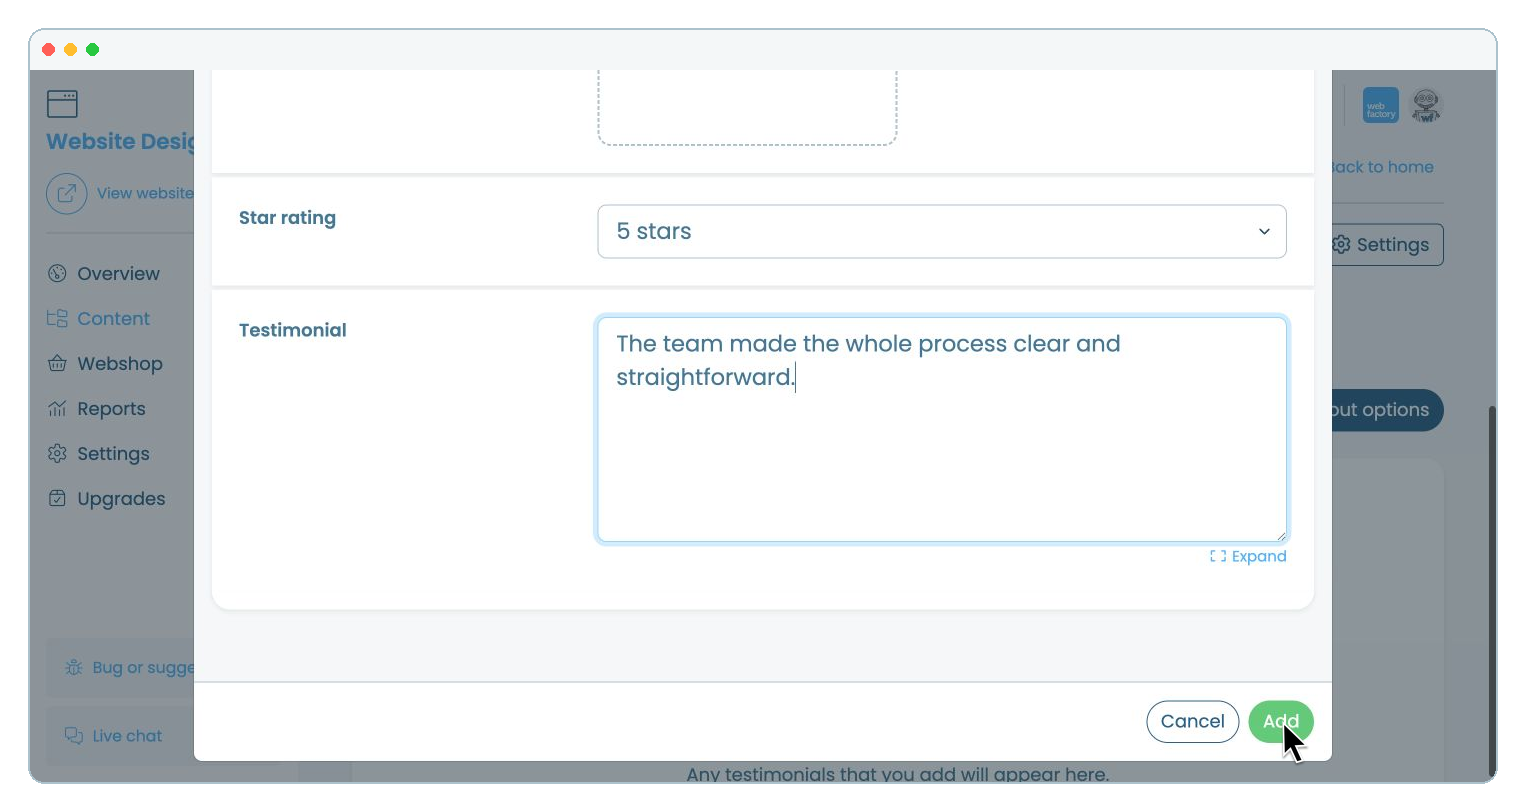
Choose whether to show a star rating, enter the testimonial, then click 'Add'.
Step 14
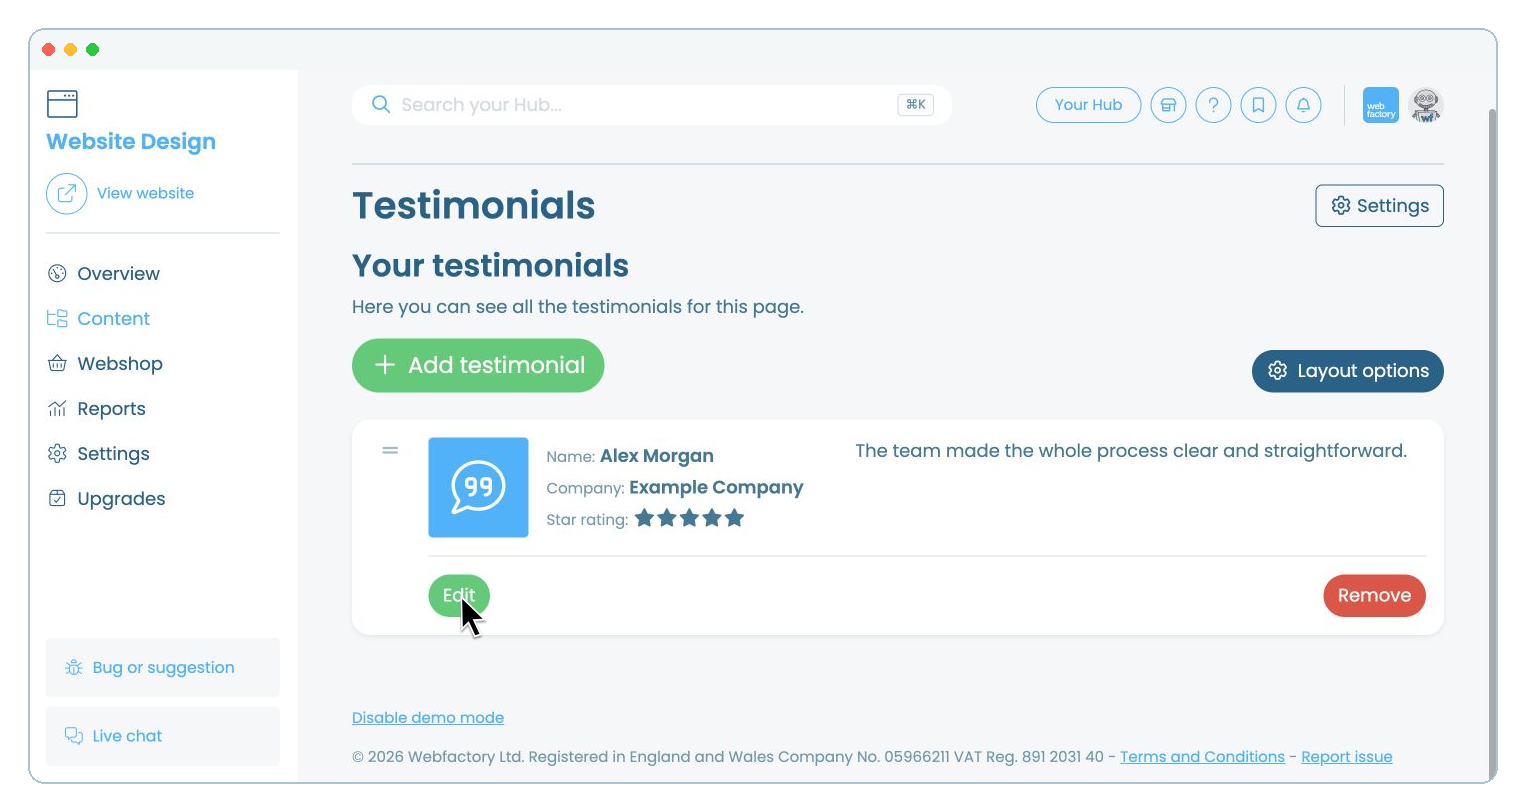
Use the drag handle to change the order. Click 'Edit' to update an entry, 'Remove' to delete it, or 'Layout options' to change how testimonials are displayed.
Step 15
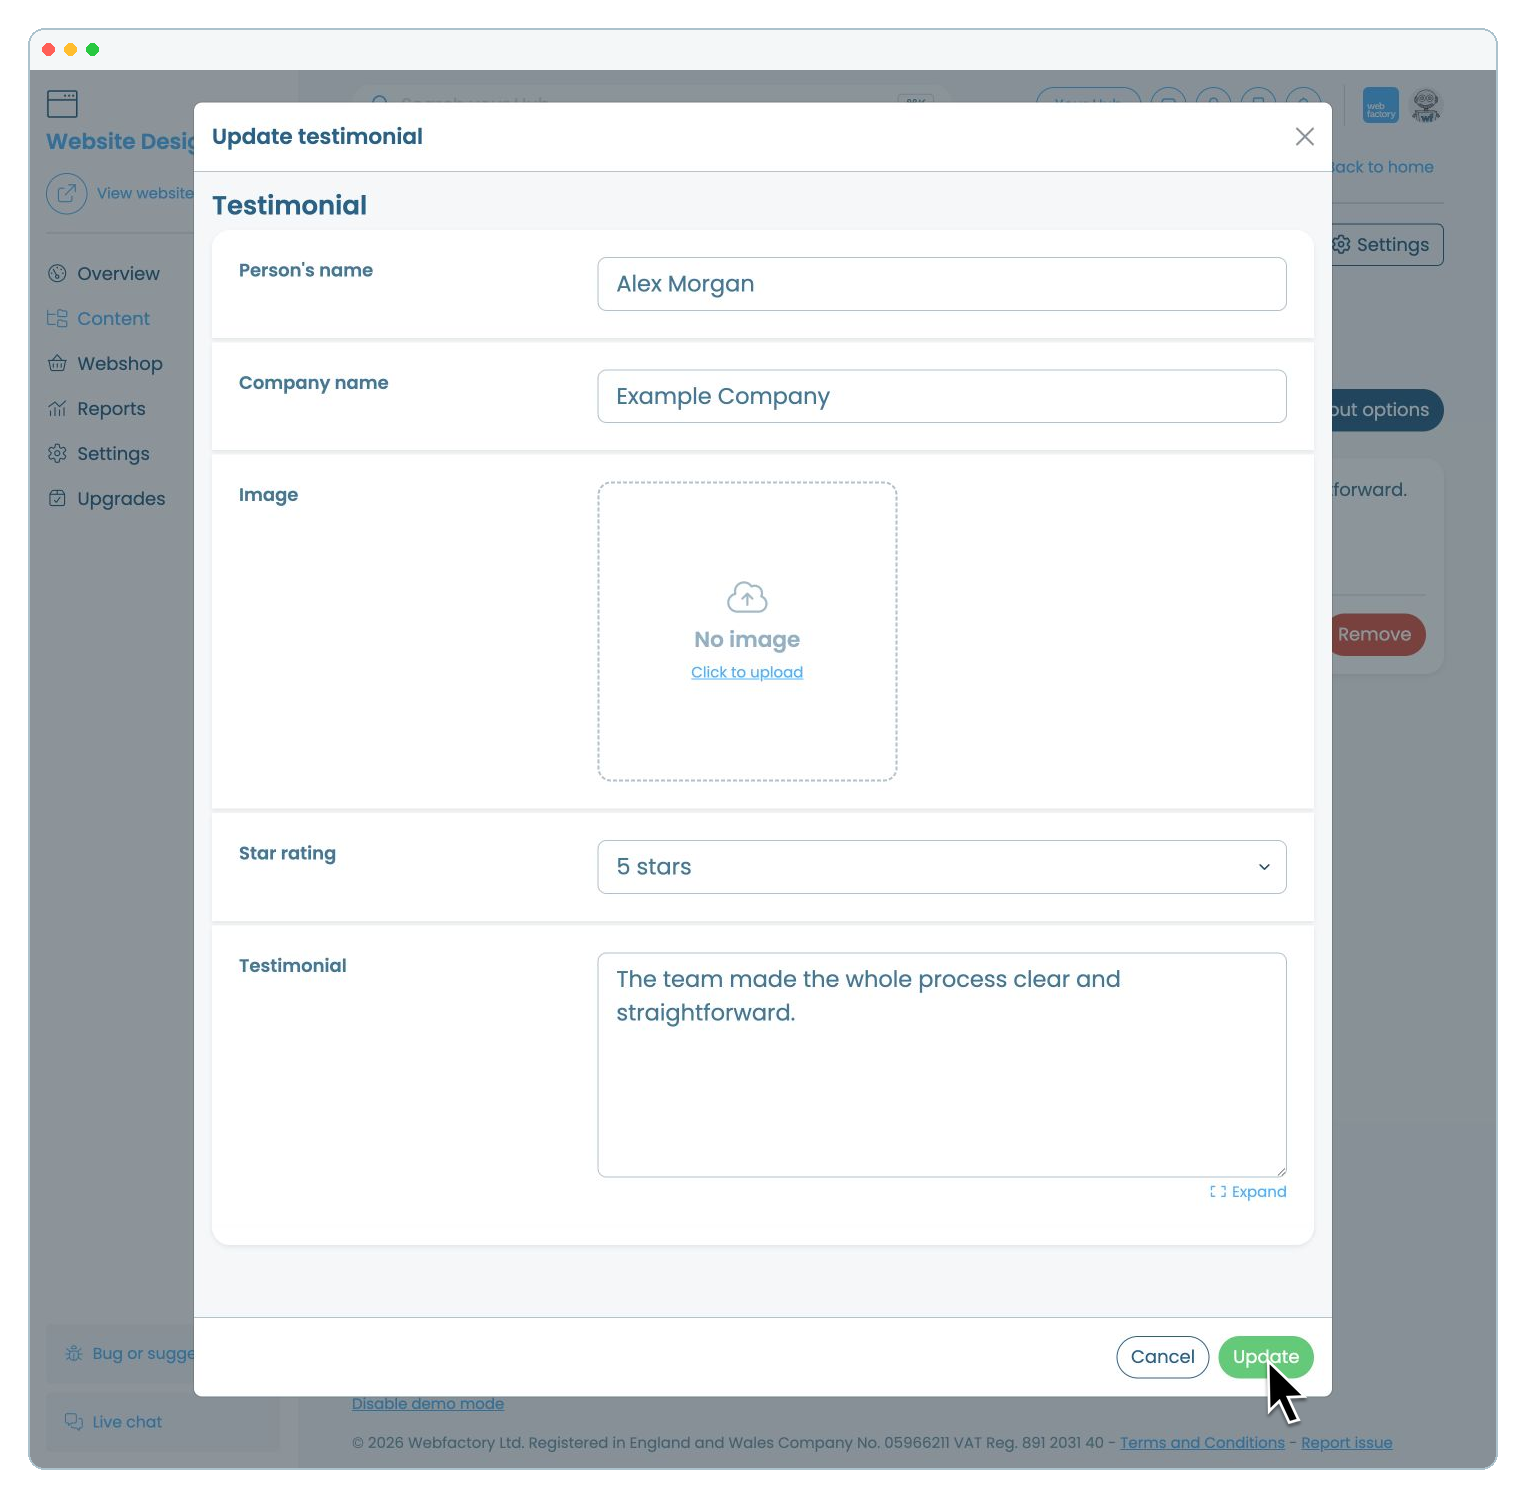
To update a testimonial, change the details you need, then scroll to the bottom and click 'Update'.