How to create and manage blog categories
In this article, we'll guide you through creating and managing categories for your website's articles or blog posts. Article categories are created as pages using the 'Article category' page type. If you need to create an article, see how to add articles and blog posts to your website.
In the website editor, go to 'Content'.
Click 'Pages'.
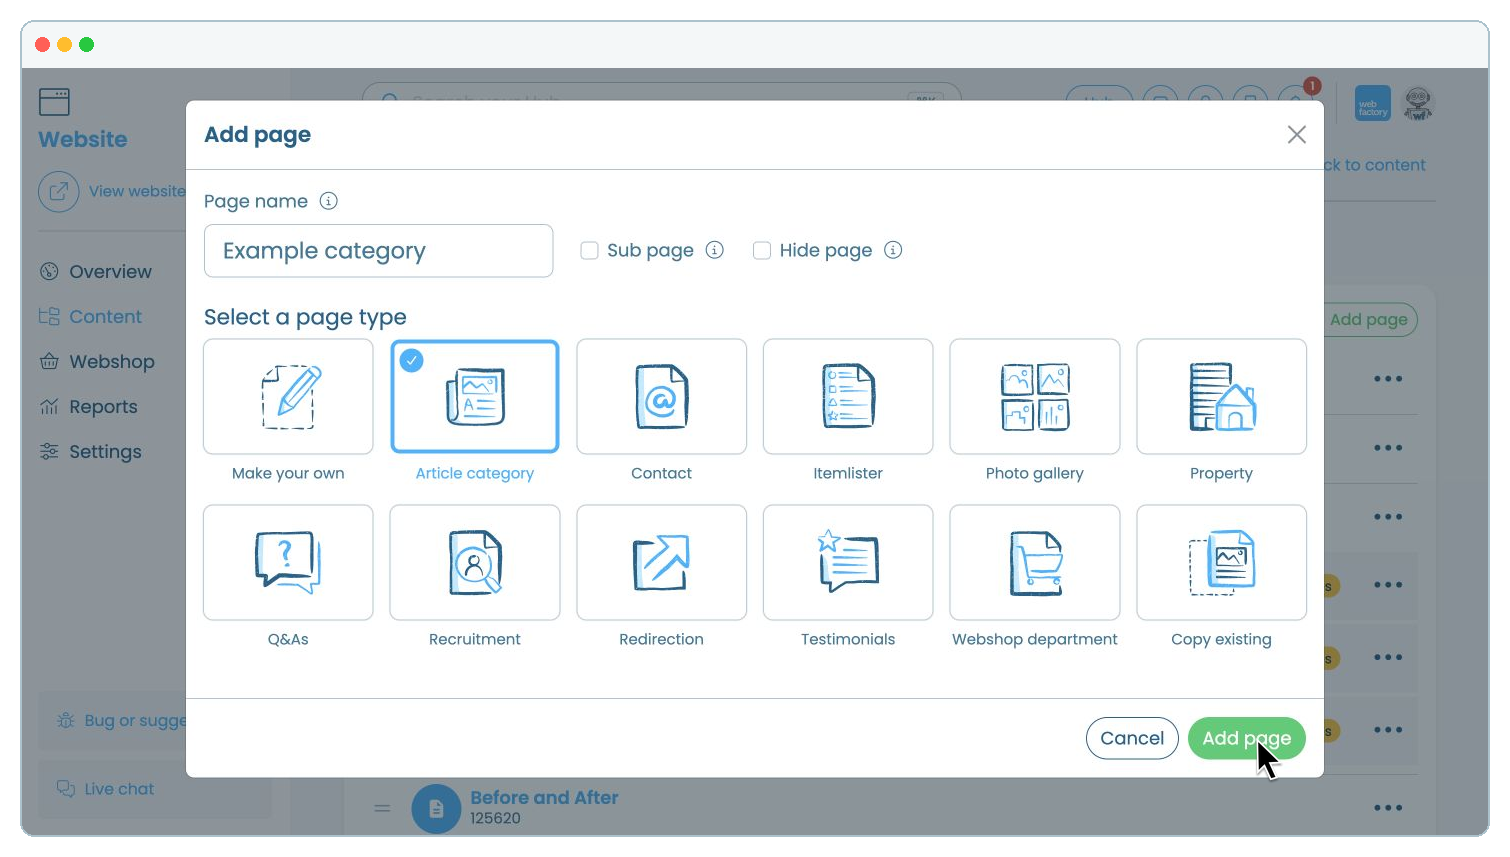
In the navigation area where you want the category to appear, click 'Add page'.
Enter the category name in 'Page name'.
Select 'Article category'.
Select 'Sub page' if the category should sit beneath an existing page, or 'Hide page' if it should not appear on your website yet.
From 'Content', open 'Pages'.
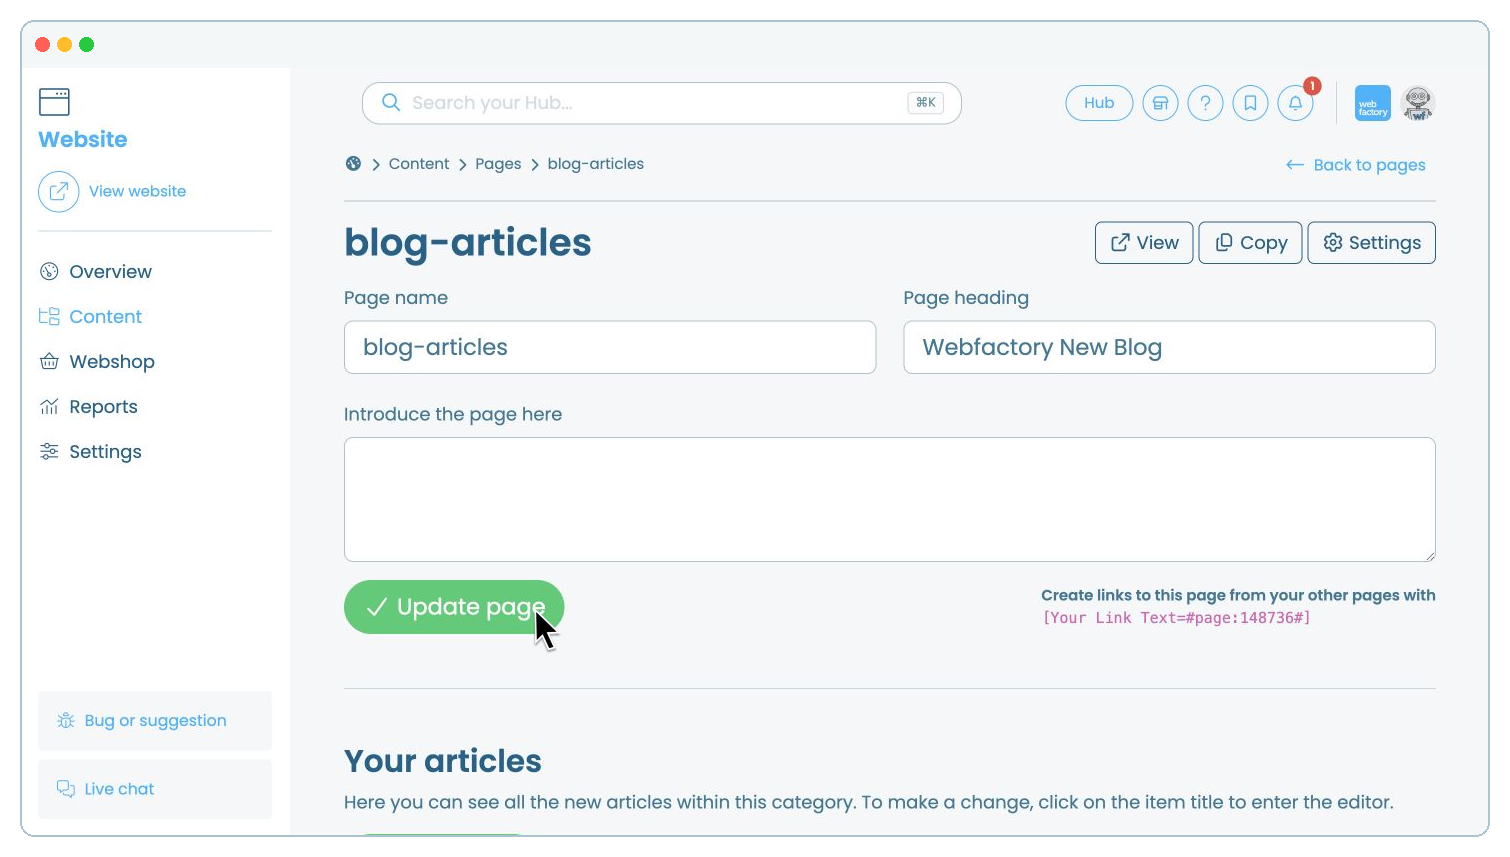
Select the article category you want to edit.
Update the 'Page name', 'Page heading' or introduction as required.
Open the category from 'Content' and 'Pages'.
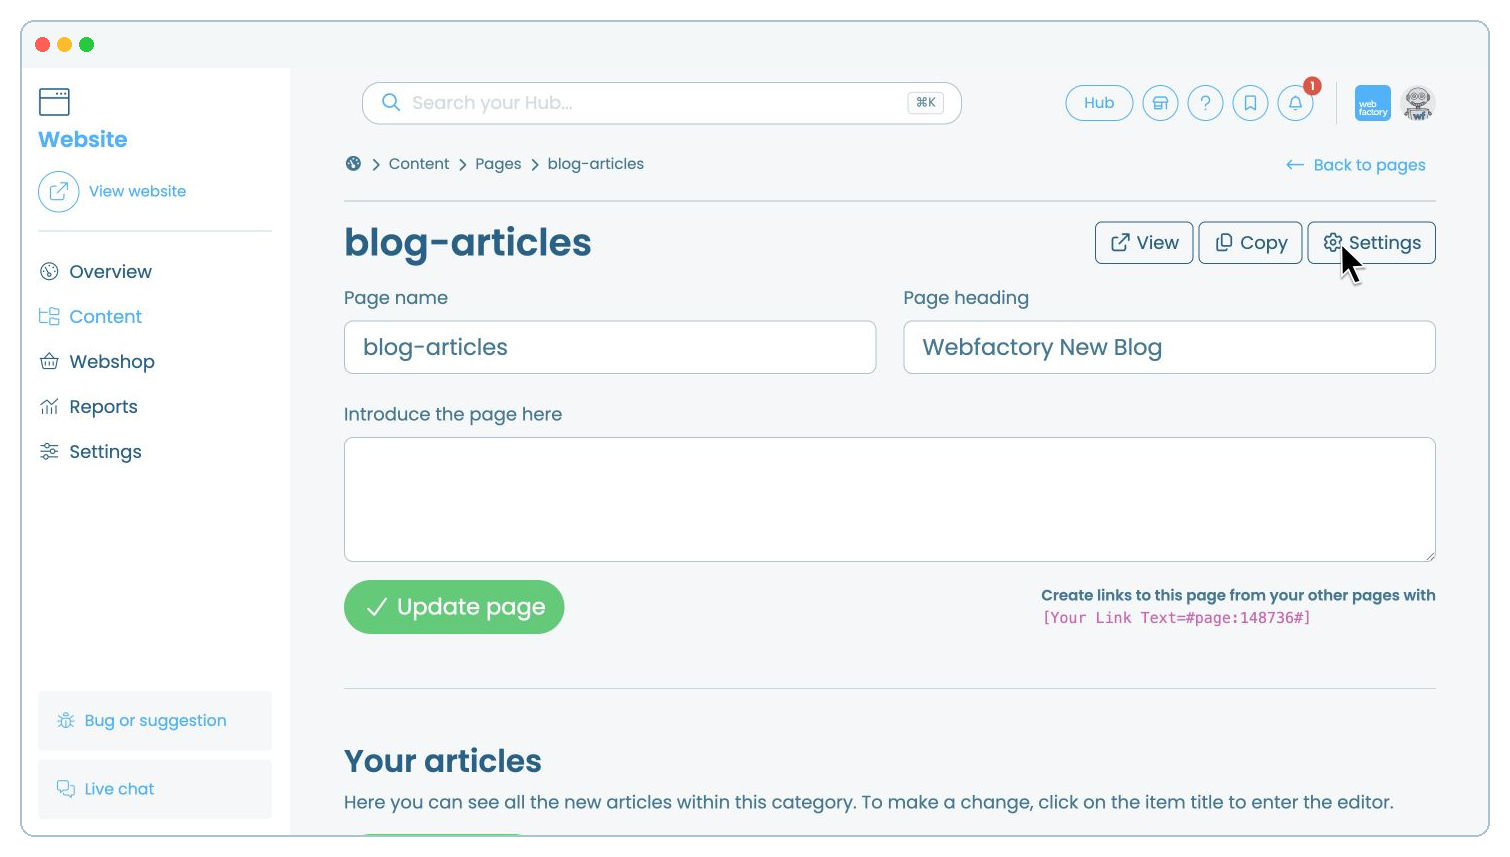
In 'General settings', switch 'Hide page' on to hide the category or off to show it.
Click 'Update settings'.
From 'Content', open 'Pages'.
Find the category you want to move.
Click and hold the drag handle beside the category, then move it to the required position.